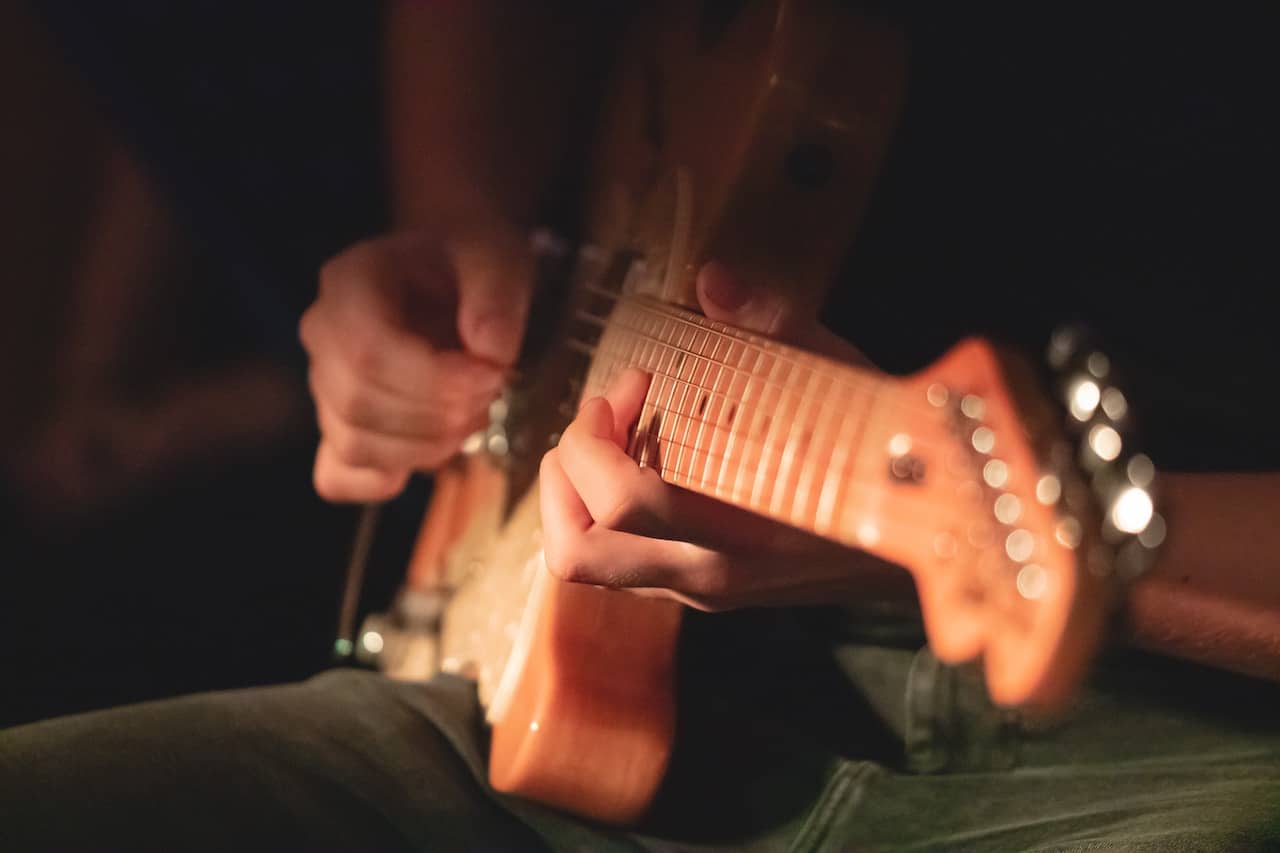
Learning Guitar tabs is essential for beginners! Tablature is the language in which our favorite riffs on the guitar are written. You’ll learn the importance of reading tabs, a simple way to understand them, and the most common symbols with many examples in this article.
When and why guitar tabs were invented?
Imagine you’re trying to teach someone a song, say, Happy Birthday. It seems easy, right? But, there are some challenges around this:
- How are you going to explain what, where, and how the melody in a compact yet understandable way?
- How are you going to make sure the melody played doesn’t change over time?
Many musicians hundreds of years ago asked themselves these questions… and then came along tablature notation. It is said that tablature (tab for short) was first implemented in Western music in the 14th century, for the organ and all kinds of string instruments, mainly the lute. However, there are records of charts for Chinese Guqin and Guzheng used as early as the 6th century. These were written by Chinese playwrights for theatrical plays.
A more modern version of what we know as tabs were popularized in the ’40s when Jazz musicians started writing music in both standard notation and tabs for guitar. The reason is that they work as a binary aid, providing an elegant solution for two problems:
Standard (sheet music) notation is incredibly good at describing what is going to be played. However, it leaves how it is going to be executed too open to interpretation for instruments that can play the same note in various ways, such as the guitar. For instance, let’s think about the following example:
How would you play it?
e ------------|------------|------------|------------
B ----------1-|------------|------------|----------1-
G --------0---|----------5-|------------|------------
D ------2-----|--------5---|------------|------2-----
A ----3-------|------7-----|----3-7-10-15-|--------10-
E ------------|----8-------|------------|----8-------
There are many ways this can be interpreted. In many organized and well-grouped sequences, played with a single string and even chaotically up and down the fretboard. This is where tabs become a necessary tool for reading guitar music because they define how the player or composer executes such a piece.
Conversely, tabs are useful up to a certain point on their own. Most tabs alone aren’t enough to distinguish the rhythm within the melody, let alone.
The guitar tab layout
When playing the guitar, you will have your low E closest to your chin and your high E closest to the ground. However, tabs are read in reverse. Imagine as if you’re taking a break from playing, and you place your guitar on your lap with the strings facing up. If you look at your guitar, you will see something like this:
e ----------------------------
B -------------------------------
G -----------------------------------
D ---------------------------------------
A -------------------------------------------
E -------------------------------------------------
This is the order in which the strings are represented in tablature. On top of these lines, numbers will be placed in sequence to depict the notes to play by the corresponding fret number in the string, and read left to right. Numbers represent a fretted string, a 0 represents an open string, and an X represents a muted string. For example, let’s see the following tab:
e ------------|
B ----------1-|
G --------0---|
D ------2-----|
A ----3-------|
E ------------|
This can be read as follows:
- Play the A string pressed in the 3rd fret.
- Play the D string pressed in the 2nd fret.
- Play the G string open.
- Play the B string in the 1st fret.
Besides this, some symbols indicate different techniques and playing specifications. Here are some of the most common for modern guitar.
Important symbols in guitar tabs
Hammer on (h)
This is a basic technique in which a finger from the fretting hand is pressed after a fretted or open string to make a higher note sound. The sound in this technique comes from the fretting hand entirely.
e -----------
B -----------
G ---------5h7-
D -----------
A ----5h7------
E -----------
Pull off (p)
It’s the reverse from the previous technique, the sound comes from pulling the string off with a finger to make the note on the lower fret sound.
e --------------------
B ----8p5-------------
G --------7p4---------
D ------------7p5-----
A ----------------7~~~
E --------------------
The sound hammer-ons and pull-offs produce is very different from regular picking. You can try playing the examples with and without these techniques to feel the difference. For this reason, it is very common to combine hammer-ons and pull-offs for their particular sound, like so:
e -----------------
B ----5h8p5--------
G ----------4h7p4--
D -----------------
A -----------------
E -----------------
Bend (b)
Bending is achieved by fretting a string and dragging the finger to either side of the fretboard, bending the string, and producing a note with a higher pitch. The finger for this technique would usually be the middle finger, with a little help from the index and ring fingers the first couple of times. Tabs usually indicate how “high” will be the outcome of the bend.
e --------
B --------
G ----5b7-
D --------
A --------
E --------
Bends can be of a half-step (a fret higher), a whole step (two frets higher), or land in a blue note (a frequency between frets).
Bend and Release (b/==r\)
In this technique, the bent string is taken back to a lower pitch or its original note. In text-based tablatures, the = sign is used to indicate how long the bend will last until it is released.
e -----------
B -----------
G -----------
D ----5b7r5--
A -----------
E -----------
Slide (s / \)
Sliding consists of taking the fretting finger either up or down the neck, usually landing in a specific fret. There are two ways to indicate this, with an S…
e ---------------
B ---------------
G ----5s7---7s5--
D ---------------
A ---------------
E ---------------
…or with slashes, depending on the direction of the slide.
e ---------------
B ---------------
G ----5/7---7\5--
D ---------------
A ---------------
E ---------------
Tap (t)
Tapping is used in situations where a hammer-on would be impossible or too difficult to perform, and the picking hand is free to do it.
e ------------------------
B ------------------------
G ------------------------
D ----2t9p2t11p2t12p2t11--
A ------------------------
E ------------------------
It can also be combined with a succession of hammer-ons and pull-offs to play triads.
e --------------------------------------
B --------------------------------------
G --------------------------------------
D ----7h10t14p7h10t14-------------------
A ---------------------7h10t14p7h10t14--
E --------------------------------------
Vibrato (~~~)
Vibrato is a technique that allows the note played to “vibrate” by shaking lightly the finger pressing onto a fret without letting go of it.
e -----------
B -----------
G -----------
D ----5~~~---
A -----------
E -----------
We can also find symbols above and below the tab itself, indicating several things, such as:
Chords for Rhythm Guitar
Sometimes, you will find indications of the chords that can be used for rhythm guitar along with the melody. These can also be used to understand the relationship between melody and harmony, allowing us to know what notes we can use to improvise. This is very common in beginner songs.
 Am F C G Am
e ----5---5---5---5---3---3---3---3---5-
B -----5-5-5-5-6-6-6-6-5-5-5-5-3-3-3-35-
G ------5---5---5---5---5---5---4---4-5-
D --------------------------------------
A --------------------------------------
E --------------------------------------
Palm Muting (PM——-|)
Palm muting is a technique that gives our guitar a very grungy sound. It is performed by placing the palm on top of the bridge in such a way that when picked, the notes die out faster than normal. Its indicator tells how long the technique should be performed. This technique is usually combined with power chords, such as in the example below.
 F5 C5 D5 A5 Bb5 C5
PM---------------|
e ------------------------------------
B ------------------------------------
G ------------5-5-5-5-7---2---3---5---
D ----3-3-3-3-5-5-5-5-7---2---3---5---
A ----3-3-3-3-3-3-3-3-5---0---1---3---
E ----1-1-1-1-3-3-3-3-5---0---1---3---
Strumming direction (^ v)
Some tabs, especially those that are heavy on chords, indicate whether the chord is played by strumming up or down, as in the example. If there are many indicators above the tab, some will be placed below.
 F5 C5 D5 A5 Bb5 C5
PM---------------|
e ------------------------------------
B ------------------------------------
G ------------5-5-5-5-7---2---3---5---
D ----3-3-3-3-5-5-5-5-7---2---3---5---
A ----3-3-3-3-3-3-3-3-5---0---1---3---
E ----1-1-1-1-3-3-3-3-5---0---1---3---
- ----v v v v v v v v v - ^ - v - ^ --
Useful tips for guitar tabs beginners
Read tabs along with sheet music
Reading sheet music sounds like it’s something only for professional musicians. But it can help you have a more accurate description of what notes are going to be played and when. More on how to read sheet music in our article about How to read sheet music – and not die trying!
Use a metronome
Another element that can help you put things together is a metronome! A guide on where the beat falls and how fast or slow the song is, helps a lot to make sense of what you’re seeing in the tab since most tabs make an effort to clarify rhythm through spacing. The bars are separated with the | symbol.
Have your audio reference if possible
If you’re counting on reading tabs alone (this is, without sheet music notation), the best way to have a reliable reference for rhythm is the song itself. Most guitar tabs for beginners come by themselves in text format, so it’s very important to listen to the song that is going to be played for reference.

