Have you tried to arrange your first pedalboard but struggling to attach pedals to the pedalboard? If so, then you shouldn’t get worked up, many beginners have this issue.
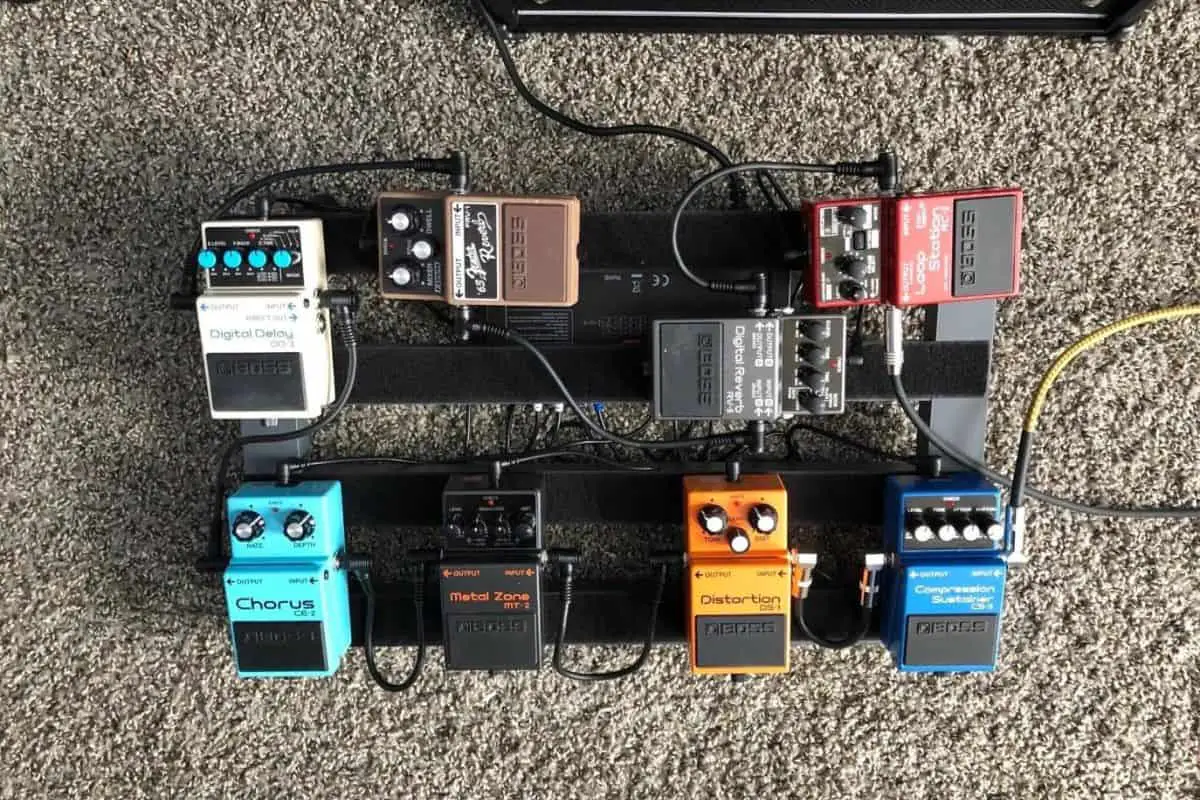
Attaching pedals to pedalboard is actually easy and seamless if you know the right method. The most common way of attaching pedals to the pedalboard is by using Velcro. However, you can also use hooks, loop fasteners, and more.
In this article, you’ll get to know all about creating the pedalboard, how to attach pedals to pedalboard, the alternatives, how to attach pedals to a pedalboard without Velcro, and a clever trick to secure the pedals among others. Continue reading to get all the answers.
Choose the base of the pedalboard first
Before you’re in a position to attach pedals, you’ll first need to have the right base of the pedalboard. One of the most important elements of the pedalboard will be the board. You wouldn’t want it to be too heavy, nor would you want it to be flimsy. Therefore, you cannot go for the cheapest possible option. But at the same time, you’ll need to find something that isn’t out of your budget.
You’ll want to find the middle ground between building a simple piece of wood on the floor and a complex system with a frame and different layers. Ideally, your approach should be to find a base sturdy enough to support the pedals without it being too DIY-ish. Essentially, you’ll be chucking a piece of sturdy wood on the floor and decorating it with the appropriate pedals.
Wood is always a great option to use as the base material. It’s quite heavy, but is also sturdy and nice for beginner pedalboards. Moreover, there is always the chance that you might find your own way of setting the base of the pedalboard. For starters, you can use a slab of wood that would otherwise by lying around unused in your house. For example, an unused shelf could be cut up and turned into the base of the pedalboard.
Plastic is often the alternate approach, as it’s comparatively lighter and easier to transport. However, it doesn’t have the sturdiness of wood.
Moreover, it’ll also be harder to stumble upon an ideal piece of plastic that can be used for a pedalboard. This makes it harder to access without having to pay to buy a plastic slab exclusively. It is recommended that you should avoid using metal as a base at all costs. It’ll be harder to manipulate and attach pedals, while also being heavy and impractical to carry around. Not to mention, it wouldn’t be the smartest idea to have electricity running through it.
How to attach pedals to pedalboard?
Now comes the all-important question – how to attach pedals to pedalboard? The right way of going about attaching pedals to the pedalboard would be to use Velcro. If you’re able to get a few pieces, you can stick a piece per pedal onto the board. Then use one piece at the bottom of each pedal to connect them to the board. This will give you the freedom to attach them or remove them whenever you want without actually impacting the board.
There is even an alternate approach of attaching pedals to the pedalboard – by using a piece of carpet on the board. This will give traction to the pedalboard, which keeps the pedals in place. However, you’ll need to put the backs back on each time you’re transporting your board. There are a few other options as well, such as two-sided sticky tape and Blu Tack. While they’ll work to an extent, they aren’t really recommended. Moreover, it’ll depend on how high your budget is.
How do you connect the pedals to each other?
This is an important step, you’ll have to invest in small leads that connect all the pedals to one another. This will keep the noise and feedback between the pedals to a minimum. In terms of your order, there will be a few rules that you need to follow –
- You’ll need to have the tuning pedal first, as it’ll work best on a completely clean tone. Each pedal that comes before it will receive the signal, but the ones that come after it wouldn’t be impacted. If you’re going straight from the guitar to the tuner, it would not be affected by an overdrive pedal, as long as it comes after.
- After that, you will want the pedals that impact volume like overdrive, wah, and compression. If they come too late in the queue, they may change the volume of the signal of the previous effects as well as the guitar. This can get quite noisy.
- Then come the tonal pedals. The pedals that create a tone will come first. For instance, acoustic simulators or octave shifters. The ones that impact a tone will come next, including EQ or suppressor.
- Ambient pedals like delay and reverb come next. Ideally, you’ll want to impact the overall sound of the guitar. In case you put a delay in the middle of the signal path, it’ll end up delaying the sound that came before it. Moreover, it wouldn’t be impacted by the pedals that are set after it.
- Finally, the looper pedals will come last. These are for recording sounds, so setting them in the middle can be impractical. Moreover, it’ll be impacted by the same problem of putting a delay pedal right in the midst of the signal path. It will not be able to pick up all the sounds.
How to transport your pedalboard?
This is actually an easy task. If you have got all the pedals attached to the board, you can put it in a big and strong enough bag and carry it around. In case you’re going down the carpet route, your pedals will be separate. You will have to ensure that the pedals do not get bashed around. This is why you should preferably have more padded methods of transportation.
Moreover, if you have a heavy, wood base, then it isn’t recommended that you should carry it around manually. You should ensure that you have a vehicle for carrying it around.
The history of the Velcro for attaching pedals to the pedalboard
Velcro is used by most guitarists under the sun for fastening the pedals to the pedalboards. The original idea of Velcro came in 1948 courtesy of George de Mestral. He noticed that burs kept on sticking to his dog whenever it would go outside to walk. Initially, he didn’t understand why.
After looking at the burs closer, he noticed that they were little hooks that were getting caught in his dog’s fur. He had a theory of using this premise and making it useful in everyday household situations. One major way of using it was to attempt to replace the need for zippers in clothing. He then created a hook side, which was rigid and not too flexible.
Meanwhile, the opposite side was flexible, allowing them to bend and mold for fitting in as many hooks as possible on the loop. This created a more secure hold. The trick here was to stumble upon the right combination that would be secure yet very easy to remove once pulled with enough force.
Fast-forward 67 years and Velcro is being used for all sorts of things, including attaching pedals to the pedalboard. This is a bit of an issue often brought up when attaching pedals to the pedalboard securely and with stability. Standard Velcro works well but it isn’t fail-proof.
Moreover, it can be quite prone to unlooping and the pedal falling off the pedalboard under heavy use. This technology has considerably changed in recent years. Moreover, Velcro has improved the staying power of the hook and loop mechanism, including the adhesive used to hold the strip of the material.
How to attach pedals to a pedalboard without Velcro?
While Velcro is the commonly used method to attach pedals to the pedalboard, 3M Dual Lock is a decent alternative. Dual Lock makes use of a mushroom shape, which sticks to itself and creates a lighter and more secure fit. The adhesive has been drastically improved over the years, and it has become excessively adherent to smooth surfaces.
It traditionally comes in a roll, and all you’ll require is a pair of scissors for cutting pieces the size you want. The surfaces you’ll be applying it to should be clean and smooth to have the best adherence. The adhesive will be very powerful, so much so that if it’s on a clean and smooth surface, removing it will be difficult. If it isn’t done carefully, it could remove the finish off the pedal. A useful tip would be to avoid using the hook and loop strips down the center of the pedal. This makes the pedal more unstable while being prone to ricking.
Using these alternatives, an inch or so at the top and the bottom of the baseplate of the pedal secure them without any instability or rocking.
Another method would be to use zip ties or cable ties for securing the pedal to the board. This wouldn’t require the same amount of tools like some other methods, but it needs more routing than simply slapping a strip of tape or Velcro on the board. All you’ll need is a bag of zip ties, a pair of scissors, and holes for running the ties through. This works well as the pedal can be easily applied as securely as you want with reduced wobbling and rocking.
For swapping the pedal out, you can simply snip the tie and then swap the pedal and tie-down. One of the concerns would be to ensure that the connection is secure without removing the finish from the pedal. This method could be difficult for some pedalboards, but there are brands dedicated to making boards with holes designed for being used with zip-ties. This method is extremely secure as, if someone wants to steal, they would have to cut the zip-ties for removing the pedal, which takes a bit more time.
A clever trick to keep the pedals secured to the pedalboard
If you prefer using Velcro on your pedalboards instead of cable ties or hooks, then you would have come across the ubiquitous black strips of Velcro that come packaged with the boards. For most people, there isn’t any problem with the fuzzy side. You can simply slap it on the pedalboard, and you’ll be done. Some pedalboards even come with a fuzzy side already built-in. The real problem will occur with the hook side.
Should you cut the size strips, stick them on the back of the pedal, and then press them against the fuzzy side of the pedalboard? You’ll quickly find that there is almost zero grip this way. Instead, you should press and twist one direction before twisting the other direction. This will allow the Velcro hooks to grab the fuzz in every possible direction, which results in more hooks hooking. Boom! Your pedals are far more secure.
However, certain pedals come with bottoms that are not agreeable to Velcro. Bottoms with paint and bottoms with feet can flake off if it gets near the adhesive side of the Velcro bottoms made using rubber. Even baseplates having delicate stickers can get destroyed after you’ve covered them up with the sticky side of the Velcro.
The solution to this issue would be to get industrial strength Velcro. Moreover, you can also go for the 3M Dual Lock. While this is different, it’ll still have the same purpose. You can easily use the stock fuzzy side Velcro, which makes this more secure. As for the hook side, there is a reversible trick that wouldn’t mod the baseplate permanently with Velcro.
You’ll need to cut small squares of the 3M Dual Lock the size of the thumb. Cut one for each pedal of the pedalboard. You cannot just put the entire strip on there. You’ll never be able to get it off of the pedalboard otherwise. Now, you should keep the adhesive side of the Dual Lock under wax paper. Once you have the little squares, you can poke screw-sized holes into the corners of each square. Then, poke the pedalboard screw through the square and then screw the entire thing back into the board.
What if the screws are holding feet onto the pedalboard? No issue, you can simply use that screen instead. What if there are adhesive feet next to the screw holes? The dual lock squares cover the feet without using an adhesive. For Ibanez and Boss pedals, the bottom two screws will be hidden in the battery compartment. You can lift off the battery cover and then cut a dual lock strip using the pedalboard screws. It must hang low enough where the loops come in contact with fuzzy Velcro on the board.
You can put it on the board the same way you’re doing the normal Velcro. Simply push, twist one way, and then twist another way. Now, the pedals on the pedalboard are secure, and they won’t budge. Even if someone runs up during your gig or you’re transporting it, the pedals won’t fall off.
The reason why you’ll be using four small squares is that you’ll want to be able to remove them someday. You can use a butter knife, a credit card, or something similar to make a slicing motion between the square and the pedalboard and detach the hook connection off the fuzz. Moreover, sometimes you might manage to pull off a corner here and there if you’re using the wrong technique, but you shouldn’t worry. You can throw away the portion that is still on the screw. Then, make a new hole in another part of the square, and then the dual lock will be ready to be used again.
Conclusion
Thank you for reading. Hopefully, now you know a lot more about creating the pedalboard, how to attach pedals to a pedalboard, the alternatives, how to attach pedals to a pedalboard without Velcro, and a clever trick to secure the pedals among others. It’s actually very easy to attach pedals to the pedalboard and there are multiple ways to do it. The most common way is to use Velcro and attach the pedals. Moreover, you can also use hooks, loop fasteners, 3M Dual Lock, and more.
Image Credit:
Featured Image: Reddit

