Have you been busy creating your first pedalboard, but don’t know how to wire a pedalboard? If so, then you shouldn’t worry because all your issues are about to be resolved.
Wiring a pedalboard isn’t as complicated as some may think. You’ll find it to be a piece of cake as long as you know the right steps. It’ll involve preparing the cables and the connectors, making the connections, testing the cables, and cleaning the mess.
In this article, you’ll get to know all about wiring the pedalboards, how to wire a pedalboard, how to create your own cables, how to clean up the mess once you’ve wired up the pedalboard, and more. Continue reading to get all the answers.
Arrange the pedalboard to elevate your next guitar performance
Pedalboards are definitely a must-have if you’re a guitarist. They can easily fatten the tone, offer a mind-bending effect, help take the load off your duties as a guitarist, and more. The process of arranging a pedalboard can be quite challenging and confusing. This is why you need to get all the help you possibly can.
Firstly, you’ll want to identify the pedals that you need. Moreover, not just the pedals, but also decide in which order you need to arrange them. For a basic pedalboard, you’ll have to have a few basic effect pedals. These will include a tuner, compressor, delay, reverb, fuzz, and wah pedals. Of course, the order and quantity of the pedals will depend on your needs and personal preferences. These effects will be wired by a wire, which begs the question of how to wire a pedalboard.
It’ll also be important to consider which platform you’re housing the pedalboard on. Many brands manufacture actual boards that are meant for housing pedals, and they’re considered ideal options.
Once you’ve got the board and the pedals, you’ll need to decide how to connect them to each other. In other terms, you’ll have to decide how to wire a pedalboard.
Choose the right power
The last thing that you must think about before you begin wiring is which power source you’ll be using. Most, if not all, pedals come with a battery housing for a 9V battery and a jack for a 9V AC adapter. You can power the effects. There are a few pros and cons for both ways of powering the effect pedals.
For instance, 9V batteries can sometimes run out at the worst possible time. Switching them during a performance can be a painful task. Using a power station like a Voodoo Labs Pedal Power or MXR DC Brick or any other external power source will have minimal chance of losing power like batteries.
However, they’re more expensive and will take up more space. Figuring out how to set up the AC adapter cables through the board could be another issue in how to set up the pedalboard. You should use your judgment and see which way works best for you. Many of the onboard power stations could be mounted to the underside of the board for saving space.
How to wire a pedalboard by making your own wiring
The major advantage of making your cables yourself is that it’ll cost you considerably less than buying prepared cables. Moreover, you can customize them as well. This will allow you to get an elegant, perfectly wired board. But you should be aware, a badly created cable could be a real pain for the sound. You’ll therefore need to equip yourself seriously and follow the instructions carefully.
Of course, there isn’t just one way to do it. Ultimately, you’ll have the freedom to make your choices and wire the pedalboard the way you want to. Here are the simple steps to create your own cables and wire the pedalboard.
Prepare the cables
First, you’ll need to know to prepare and strip the cables in the correct way. It’ll be the same process for the connectors that you’ll be using in the pedalboard. For mono cables, you can use different refs from brands like Sommer Cable. For instance, the Spirit LLX will be more suitable for guitar cables. Meanwhile, the Spirit XXL will be more suitable for pedalboard patches. They’ll be among the cable options with the best performance in the market. By using high-quality cables, you wouldn’t have any issues with noise or treble loss.
The first step would be to cut the cable to the right length. You can do this with a pair of sharp wire cutters. It is advised to cut the cable 1-2 cm longer than the length you want.
Now comes the delicate part. You should start to strip the cable. For doing this, you’ll need to use the coaxial cable stripper of the stripping pliers. The end goal is to tighten the cable inside without tightening it too hard, and then turn it. It must only cut the outer sheath of the cable without cutting the ground braid. You’ll feel a cracking sensation once you’ve reached the ground braid. This is where you’ll need to stop.
Once it is done, you’ll need to remove the ground braid and then twist it on the side. Do this without putting too much force to tighten the internal braid of the cable. If you’re making a patch of less than 60cm, you should twist the ground on each end in opposite directions. This way, the connectors will be in the same direction when the cables are finished.
Then, using a scalpel, you’ll have stripped the cable by removing the black sheath. It needs to be removed as close as you possibly can to the ground braid. After that, with the stripping pliers on the 20AWG or 0.8mm size, you’ll be removing the white sheath by just a few millimeters. By removing the end of the sheath, you’ll be turning it on itself at the same time. Moreover, it’ll twist the core of the cable.
Install the connectors
Now comes the bit about the connectors. You’ll need to choose between different connectors depending on which one you’ll be using. There are two different connectors that you should include in your pedalboard – straight and angled. It’ll be up to you to see what you’ll require. Straight connectors are extremely versatile and work everywhere. Meanwhile, angled connectors can be useful for fitting in the boards and guitars to save space.
Moreover, they don’t have any big connectors sticking out. But you should be aware of Telecaster and Stratocaster which aren’t always adapted to angled connectors.
You should start off by opening the connectors. For the straight connector, you’ll need to pass the end of the connector and the cable clamp around the cable. Otherwise, you wouldn’t be able to pass them once the connector has been soldered. Then, you’ll need to prepare the cables. For angled connectors, it’ll be the same thing, as you’ll be passing the cable through the hole in the connector.
You’ll be starting with the straight connector. Use your hand to hold the cable and the connector, while it’s touching the ground braid with the outer tongue of the connector. If it’s your first time holding a soldering iron, you must learn to use it quickly. Then, you’ll need to solder the ground braid. Then, you’ll be bending the cable such that the core of the cable fits into the connector’s central pin. You should solder it, too.
Make short, fast soldering to avoid melting the white sheath. If it isn’t working, you shouldn’t be worried. Simply allow it to cool down for a while and then start again. Once it’s done, you shouldn’t close the connector. Instead, wait for 5-10 min and allow it to cool down. Then, you’d have soldered the two sides of the cable.
As for the angled connectors, you’ll have to bend the small tongue almost at 90°. Then, you should insert the core of the cable in it, which makes it at the same time as the ground braid and the big tongue towards the bottom of the connector touch. You should be cautious, the end of the ground braid shouldn’t touch the tongue of the tip. In case the braid is too long, you shouldn’t hesitate in cutting a few millimeters.
You should hold it with your hand and then solder it. First, the ground braid while taking care that the iron isn’t touching the cable sheath. There isn’t a lot of space, and it’ll be better to do it several times, as it doesn’t heat the sheath too much. Then, you should solder the core to the tip’s tongue. Lastly, you shouldn’t close the connector like the other method.
Test the cables
Now that the connectors are soldered, you should test the cable. You’ll be testing it with the ohm-meter to see if it’s conducting well where it needs to. However, the safest option will be the cable tester.
The advantage of using this type of tester is that it’ll plug your cable into it. Then, you should twist the cable in all directions for ensuring it always stays conductive. Once the micro-cut is detected, even if extremely short, an LED should light up on the tester. Something you wouldn’t see with an ohm-meter.
You’ll need to do the first test before you close the connectors. This way, you can ensure that the signal is passing where it should. Then, you should close the connector and then twist the cable in all directions. If the LEDs indicate a false contact and aren’t lighting up, you’ve made a perfect cable. There you go, you’ve created your own wires, and you can wire your pedalboard.
How to wire a pedalboard?
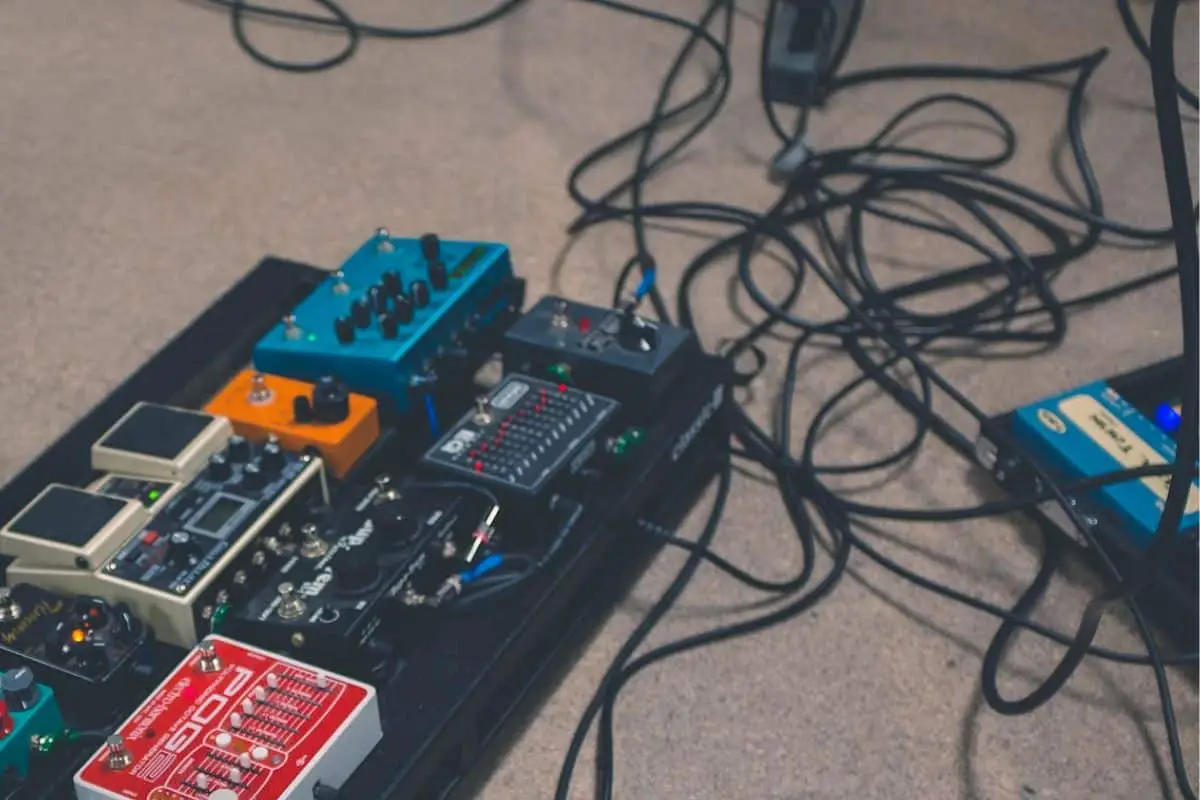
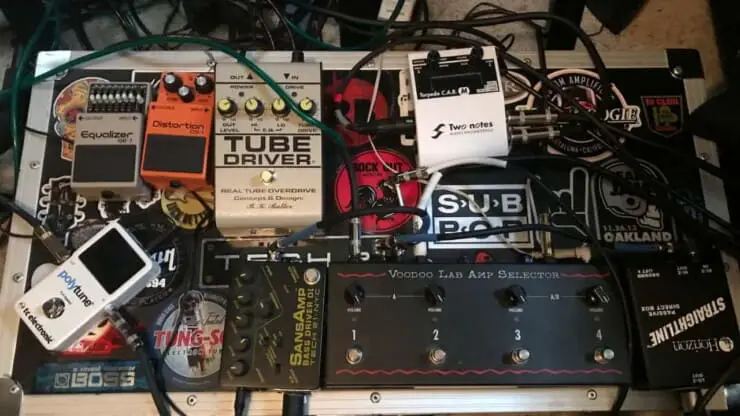
Now that you’ve created your cables, it’ll be time to start wiring the pedalboard. But you cannot wire it in any order, there is a certain order of setting the pedal effects. This will help you get the best use of the pedals, but putting pedals in the wrong order can make the effects ineffective.
First, you should wire in the tuner. Your playing starts with the guitar and the first thing will be the tuner. This way, the tuner wouldn’t be impeded by other effects, irrespective of whether the effect is equipped with True Bypass or not. Getting the tuner to hear the guitar before anything else will be the best way of ensuring you’re able to tune reliably.

Pedals that filter or modulate the guitar’s tone will be wired next. This will include wah pedals, auto-wahs, phasers, and envelope filters. These effects will work their best when they’re modulating a clean signal. After that point, you should connect the effects that boost your instrument’s volumes like compressors, boosts, or EQs. These effects will make the quieter tones louder when engaged. Doing it in this order will let the wah pedals modulate the guitar’s tone. The compressor will also equalize the volume of your tones.
Then, you’ll need to wire in effects like overdrive, distortion, and fuzz. These benefit from the boosted tones that you have going on from the EQ/Compressor, and it’ll amplify them further. The reason you wouldn’t want them in the reverse order is that the compressor filters as well as boosts. Doing that with a distorted signal produces unwanted noise or poor tone quality.
The last step of wiring a proper pedalboard would be pitch shifting and modulation pedals. This includes octave or harmonizer pedals, phasers, flangers, tremolo, reverb, and chorus. They’re normally put in the order of your choosing, as a given board could have any number of effects.
Hide the mess and improve the pedalboard wiring
It’s important to hide the wiring mess that comes with a wired pedalboard. There are many steps to do this, but there are a few steps that will help you hide the mess that comes with wiring the pedalboard.
STEP 1: Clean everything off the board and then vacuum
The first order of business would be to get everything moved off the board and vacuum it off. Whether you’re using a traditional vacuum or, a smaller, hand-held vacuum will work better. There is a lot of dirt, dust, and loose fabric pieces that will come off. You should then remove the pedals, wipe the board, and spread out the new wiring goods.
STEP 2: Add Velcro and place the pedals
The next step would be to unpackage the new Velcro and then add it to the back of each pedal. Once the Velcro is on, you should place each pedal where you want it to go. With just the pedal couplers plugged in, there wouldn’t be any wiring or cables messing up the board.
All pedals that use a 9V power cable from the pedalboard kit will be placed at the back. Meanwhile, the larger and more heavily used pedals need to be placed in front.
STEP 3: Tie the 9V power cables to the effect pedals on the back row
With each 9V adapter plugged into the pedals at the back, you can use the twist ties to bind the 9V power cables in groups of two. Use two ties, one of them at the top and the other at the bottom of each wire group. You should tie them as close to the two pedals as you can.
If needed, you can fold the wires for eliminating any excess length. Then, use the hockey tape for wrapping up the folded portion. The 9V cables shouldn’t be longer than what’s necessary.
At the top of each 9V wire, whether it’s going into the board or into the power supply brick, you can use the black hockey tape for hiding and securing the black twist tie. Then, you can either tape or Velcro to keep the wiring adhered to the pedalboard. This way, it won’t move and keep a rather low profile.
STEP 4: Tie in the Wah pedal adapter
If you need some more slack for the wah pedal, you can simply tape the 9V wire to the front edge of the pedal. Then, tuck it under one of the couplers that are holding the back row together. Once more, you can make use of Velcro or tape for keeping the wire’s profile low.
Repeat this process with other pedals that are using a 9V adapter that isn’t fitting on the back row.
Conclusion
Thank you for reading. Hopefully, now you know a lot more about wiring the pedalboards, how to wire a pedalboard, how to create your own cables, how to clean up the mess once you’ve wired up the pedalboard, and more. How to wire a pedalboard is an important task and should be carried out carefully. It’ll involve preparing the cables, the connectors, making the connections, testing the cables, and cleaning the mess. Lastly, there is also a certain order in which you need to place and wire the pedals to get the best results. Without the correct order, you might get muddy and unpleasant tones.

