Have you ever broken your capo or forgotten to bring it to your guitar session? If so, then you’ll be glad to know you can create a substitute capo within minutes.
Instead of a capo, you can use a DIY substitute as long as you have a pencil and rubber bands. This substitute capo might not give similar results to a traditional capo, but it’ll make do.
In this article, you’ll get to know about what to use instead of a capo, how a capo works, how to apply a capo, why you must use a capo, and more. Stick around to know all the answers.
How does a capo work?
To properly understand how a guitar capo works, it’ll be important to understand the function of the nut of the guitar. The nut is normally located where the fretboard meets the headstock. It is essentially a thin strip made up of plastic. It contains the grooves for each string such that it can be properly placed and guided down the guitar’s neck. The strings will then be secured around the tuning keys.
A capo can be considered to be a movable nut in the sense that it’ll provide the termination of vibration. Unlike the nut, a capo doesn’t have string grooves. Instead, it’ll press the strings onto the fretboard to terminate the vibration.
How do you apply a capo?
Capos come in different sizes and shapes to fit the different types of stringed instruments. Most of them feature a rubber-covered bar that will be used to hold down the strings. The bar can then be fastened to the neck with a nylon strap, a screw, a spring, or a clamp.
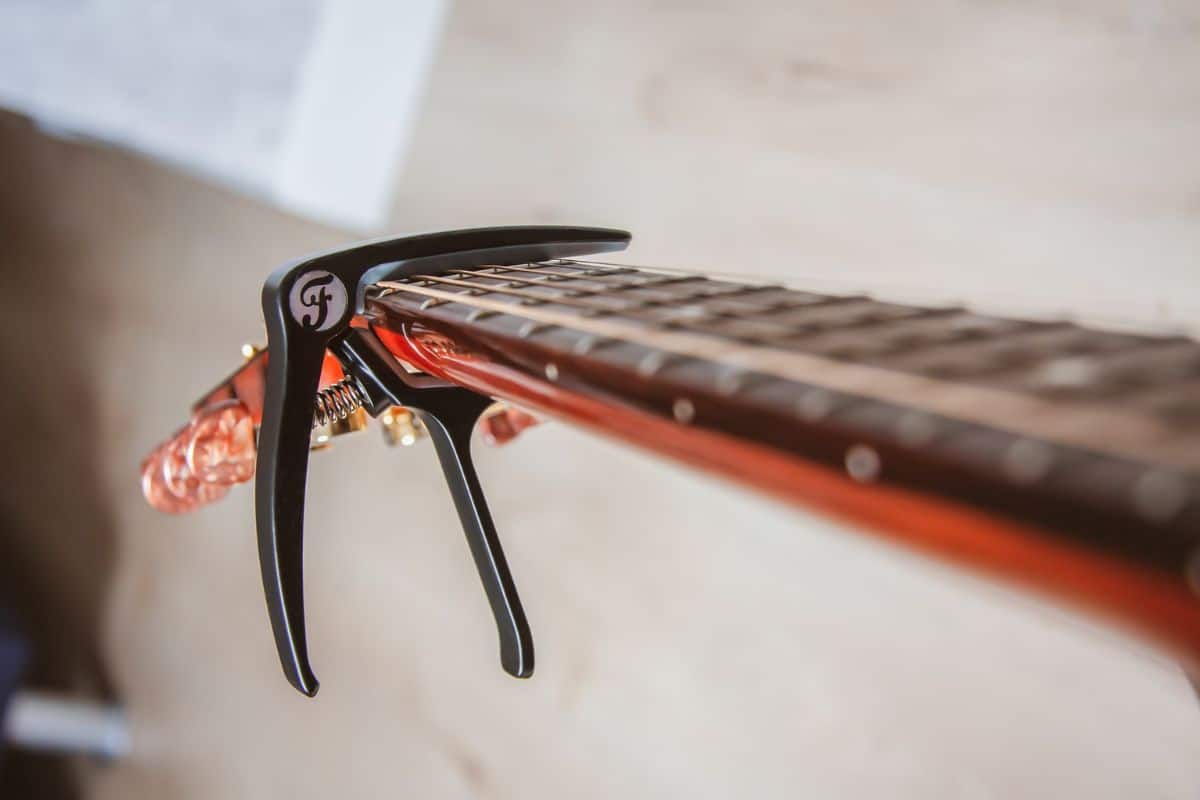
The most popular type of capo is the trigger capo which uses a spring system. You can easily open up the capo using the trigger. Then, place it on your guitar and release your grip. The pressure from the spring would keep the capo firmly in its place.
There are a few other types of capos and they’re simple to operate. A screw capo will have to be screwed into place. Meanwhile, a Shubh capo will require a lever system that can be flicked into place. These capos will be best for precision, but they aren’t as easy to use as compared to trigger capos.
The cheapest capo options feature a strap that wraps around the neck of your guitar. It will be secured into place using a notch. Cheap capos aren’t very reliable as they can slip, put sideways pressure on the strings, or break easily. Then can even be fiddly and it can be tough to get the right tension.
Capos can be applied at any point of the fretboard. You can open it and then move it to the desired fret. The capo needs to be placed in the fret behind the fret bar. Ensure that you aren’t placing it too far back or on top of the fret. You’ll want to make sure that you have a smooth and even fit to get a uniform position and pressure. This needs to be done to avoid the bending of the strings.
Otherwise, the guitar might sound out of the key. Improper application of the capo can mark the neck of the guitar. It’ll be noticeable if the capo isn’t applied correctly, as the strings could sound completely dull or twang when picked. It’ll be important to be careful when using the capo, picking, or strumming the strings.

A common mistake that people make is releasing the handle of the capo without ample care. An improper amount of tension can easily bend the strings. While this might not be noticeable to untrained eyes, a little bending is all it’ll take for the guitar to sound out of tune. Once the capo is securely clamped, it’ll raise the pitch of the string. You can make use of the higher pitch for playing in a different key while using the same fingerings.
READ MORE: Comparison of the Best Online Guitar Lessons
What to use instead of a capo?
If you do not have a capo or if you’ve forgotten to bring on to your guitar lesson, don’t worry. There is a DIY way to quickly put together a substitute capo using a pencil and rubber bands. If you don’t have your trusty capo with you, it wouldn’t be a big issue. It is possible to make a temporary capo within no time as long as you have the needed materials.
If you’re looking to know how to make your own substitute capo from scratch, this DIY method will help you. You can put together a DIY substitute capo on the fly within minutes using just two materials.
1. Gather the correct materials
You will need to gather a pen, pencil, marker, or anything long enough that it covers the width of your guitar’s neck. Then, look for an elastic hairband or a rubber band. Anything that is stretchy enough will be helpful as it’ll be considerably easier to tie. Gathering a pen, marker, rubber band, and elastic hairband is all you’ll need for this DIY process.
It is worth noting that having a thicker rubber band will be better for this process.
2. Align the pen or pencil to the desired fret
When you’re aligning the pen or pencil, you should ensure that it is near the fret. Choose the fret that is closer to the body and farthest from the net. This way, you’ll be able to avoid any potential buzzing sound or ghost strings later on.
3. Connect the rubber band or elastic hairband to the capo
Now, hold the pencil or pen tightly in its position. Then, loop the rubber band around one end of the pencil to the other end by going around the neck.
There is another thing you must know. If it isn’t tight enough, you could either make another loop with the same rubber band or you can add another rubber band to tighten it.
4. Listen carefully to ensure that it sounds nice
Now comes the time to test. Try to pluck each string and notice if they sound nice. If any of the strings aren’t sounding right, the capo is either wrongly placed or it isn’t tight enough.
You will be able to adjust it by simply moving the DIY capo closer to the fret. You can tighten the capo by adding another rubber band or elastic hairband until you’ve achieved the desired sound.
On the other hand, if it isn’t sounding right, you can try out a different pencil or perhaps a pen. Once it starts sounding incredible, you can move to the next step.
5. Start your guitar session with your new DIY capo
That’s it! You’ve made your own DIY capo. You can now start playing the guitar and use this DIY capo to achieve similar results.
How to make a DIY capo without rubber bands?
If you’re not carrying a rubber band with you or if you don’t have enough rubber bands, you can still make a DIY capo. You can make use of zip ties, shoelaces, yarn, or even a fishing line. If you’re using zip ties, you’ll need to have two zip ties and two pens or pencils.
1. Prepare cable ties or zip ties
Spin them around and slide them into the clasp. Make sure that the loop isn’t too small. Having loops that are approximately 1.5 inches in diameter will be important. This must be done for both ties.
2. Align the pen or pencils to the desired fret
The pens or pencils must be parallel to each other. The first one will be behind the neck of the guitar, while the other one will be at the front of the fretboard.
3. Hold the pens or pencils in place using one hand
Using one hand, hold the two pens or pencils and place the zip ties using the other hand. Then, tighten it properly. When you’re tightening it, you shouldn’t tighten it all the way to one side. Ensure that both sides are equally tight.
You’ll need to pull a little on the right, then pull a little on the left. After that, pull once more on the right, then once more on the left, and so on. If you’re pulling it on just one side, it’ll be almost impossible to tighten the other zip tie.
4. Pluck each string
Pluck each string individually and then check if it sounds good. That’s it! Your job is done.
In case the strings don’t sound right, you may need to secure the zip ties properly to tighten the capo. For the shoelaces, yarn, or any string, you’ll need to make a loop de loop. This will be done the same way as what you did with the rubber bands in the other method.
While it isn’t as flexible as rubber bands, you’ll need to tie it. Ensure that it is rid because you wouldn’t want it to snap. You can then check if it is tight enough by plucking individual strings.
RECOMMENDED: Learn to Play Guitar in Less than 4 Months – Guitar Tricks Review
Reasons why every guitarist needs to carry a capo
It is important to know some of the benefits of using a capo and why you must carry one with you at all times. Here are some of the reasons why you must know how to make this DIY capo and carry it everywhere.
A capo will allow you to instantly change the key of the song
For instance, you can play a specific song in the key of C and you can only play in the key of C. However, you wish to accompany the vocalist whose vocal range is better suited to singing in the key of D. That wouldn’t be an issue. You can put the capo at the 2nd fret and play the track in C as you’d normally do. The capo will cause all the strings to sound two half-steps higher than compared to normal, while the music sounds in D.
In fact, you’ll be able to move the capo to any fret and then slide it up and down the neck. Do this until you’ve found the fret that is perfect for the singer’s vocal range.
If the chords and notes in the song have no open strings, you can change the positions on the neck. This will help you find the best key possible for the vocals. Make use of a capo only if the track requires the use of open strings.
A capo will give your guitar a brighter sound

Just place the capo on the neck of your guitar. Your guitar will start sounding a bit like a mandolin. Capos will prove to be especially useful if you’re having two guitarists playing a track together. One of them can play the chords without a capo (say in the key of C). Meanwhile, the other one will play the chords in the key of G, keeping the capo at the 5th fret. The difference in timbre between the two guitars will create a striking effect.
A capo will allow you to move to any key
Many expert guitarists refer to capos as cheaters. They feel that if you’re a beginner capable of playing in easy keys, you’ll need to chat by using a capo for playing in more difficult keys. If you’re a talented guitarist, you should be able to play complex notes without using a capo.
In folk guitar playing, the combination of fretted strings and open strings is the true essence of the genre. Sometimes, the open-string/fretted note combinations could become very intricate.
For instance, think of the introduction of James Taylor’s “Fire and Rain”, which is played in the key of A. James plays it by making use of a capo at the 3rd fret, which causes the music to sound three half-steps higher in the key of C. This is the case as this key best fits his vocal range. So, why didn’t he just play the song in the key of C without a capo? Because the fingering would make it almost impossible. The necessary open strings that James played don’t actually exist in C, only in A.
A capo will move the frets closer together as you’re going up the neck
Playing with a capo will require less stretching in your left hand. Moreover, it’ll also make the songs considerably easier to play.
Conclusion
Thank you for reading. Hopefully, now you know a lot more about capos, how to use capos, what to use instead of a capo, the DIY method to make a substitute capo, and more. If you don’t have your tried-and-tested capo with you, you can always make a substitute capo yourself. All you’ll need is a pen or pencil and a couple of rubber bands. You can easily create your own substitute capo using this DIY method and it’ll work similarly to a real capo.

