Setting up a new pedal chain but don’t know where does looper go in pedal chain? Don’t worry, by the time you’re done reading this article, you’ll know the answer.
Looper goes in the pedal chain depending on how you want the looper to function. The simplest way is to position it at the end of the pedal chain. Meanwhile, you can even place it in between different effects.
In this article, you’ll get to know all about where does looper go in pedal chain, where to place looper pedal in chain to get the best results, looper pedal tricks that you can use, and more. Continue reading to know more.
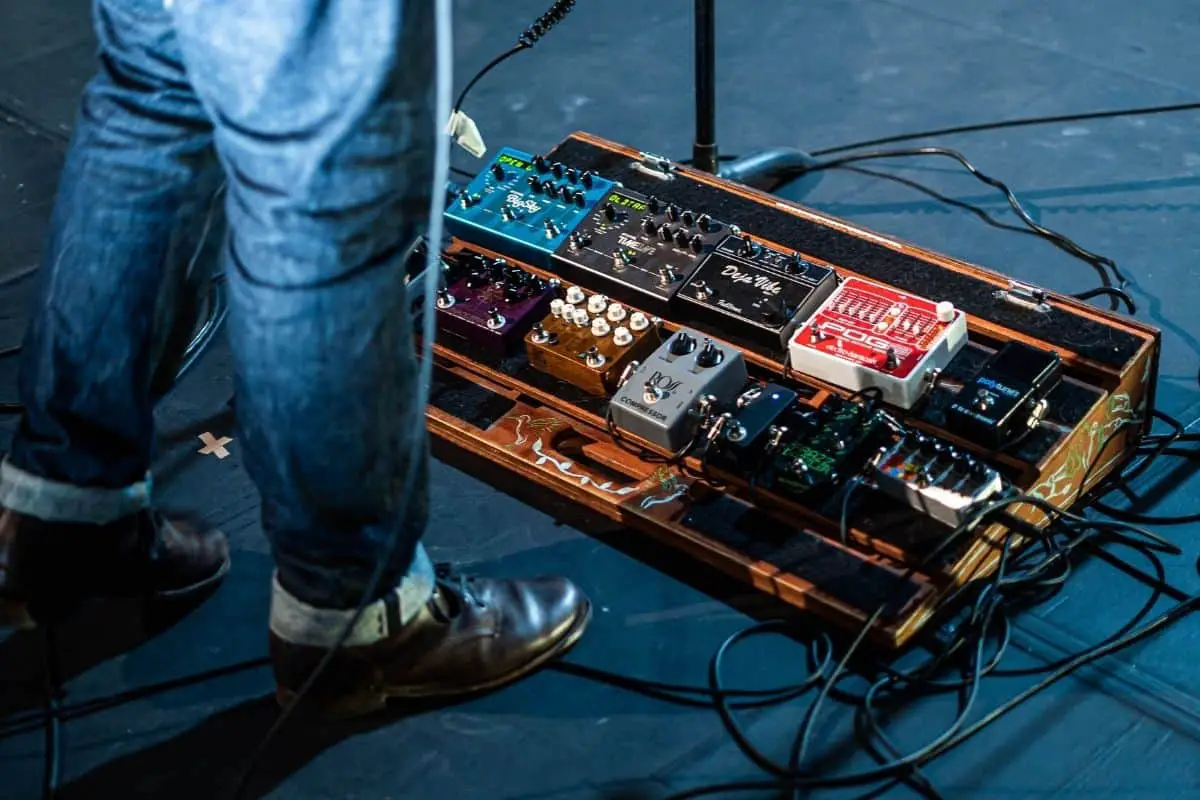
Adding looper pedals to the pedal chain
Loopers will allow you to record the input signal and then play it back indefinitely. This will be achieved by converting the analog input to a digital signal and then storing it in RAM. This process is very similar to how a sampler normally works, but with a different purpose and feature set. What sets one looper apart from other loopers is what it allows you to do once the loop is recorded.
A basic looper pedal will allow you to record playback, overdub, and adjust the volume of the playback (half-speed or double-speed), reverse, undo/redo stutter, and more. Some loopers will also come with effects like reverb and delay, while others include a drum machine to practice or build multitrack loops. The top-of-the-line loopers will offer the ability to record and play separate loops. This will allow you to build layers of loops and record different parts and switch between each loop.
Adding a looper to your pedal chain will require advanced planning, trial and error, and knowing your intended uses. You might be looking to have overdubs in the loop using short delays, reverb, distortion, or other effects. To do that, the looper should be placed after these effects to record them. However, it should be placed before long reverb or delays, as they’ll be difficult to loop properly.
Where should a looper go in a pedal chain?
When using loopers, it’ll be important to know where to place looper in the pedal chain. There are three common ways that guitarists place looper pedals in the pedal chain.
- The most common way of putting a looper is to set up a separate effects loop for the loop pedal. It’ll be as if it has its own effects chain. There are multiple ways you can do that, with one of them being the most preferred one.
The more popular method is to create a new effects chain and set the toggle switch to the highest position. Then, you should connect it to the loop pedal, while the other end will go into the effects send. This comes with many advantages over other methods as you’ll gain easy access to what is going on with the loop pedal such that you’re able to troubleshoot if anything isn’t sounding right.
Another major advantage of using this method is that it’ll keep the regular chain clean. Meanwhile, it’ll also allow you to put an effect pedal into the chin for a specific purpose. You can even put some delay in reverb in the effects loop.
- Another way of placing the looper in the pedal chain would be to place it directly in the signal path chain. This way, you’ll have the pattern of the effects you want to use before looping, then the looper effect, then the effects after the looper. This isn’t ideally recommended because if you want to change something about the rig or bypass the loop pedal for any reason, then this method will make it very tough to troubleshoot.
- The third way would be to create a dedicated effects loop for the loop pedal and the regular effects loop. This method isn’t normally recommended as it’ll be restrictive, especially when you’re setting up the rig. It also seems that the pedal doesn’t fit properly in the chain.
Key rules to keep in mind when placing pedals in the pedal chain
Here are a few key tips that you must keep in mind before you start plugging pedals together.
Rule 1 – There are actually no rules. The sound that you’re after may not be made by what is called the appropriate or logical signal path. However, this isn’t always the issue. The issue with this one is what will it sound like? If it helps you achieve the sound that you’re after, then go along with it. If not, you might have to figure out a way to deal with the noise. Traditional pedal board arrangements are designed for a reason, and keeping the noise down is a big one. Keeping in line with the principles of sound is produced is another one. However, the final choice will be yours, and you have room for experimenting.
Rule 2 – Certain pedal types will work better in certain sections of the signal path than in the other sections. For instance, tuners or octave pedals won’t work well with distorted signals as with undistorted signals. This is why they must be placed before the distortion.
Rule 3 – Noise can be an issue, especially with high-gain distortion sounds. Pedals that add volume like wahs, compressors, EQs, and distortions amplify any noise created by the effects placed before them.
Rule 4 – If you take sound-making devices like stompboxes out of the situation, there’s an order to the way sounds naturally occur. For instance, guitar amp distortion is traditionally made in physical space by turning the amp up enough to cause the circuits to overload. Any echo that you hear happens after the distorted sound hits the wall and then bounces to your ears. Therefore, logic says that the reverb and delay pedals need to be last in the signal path. This happens as this is how the sounds produced actually occur in 3-D space.
In keeping up with the rules, there are certain guidelines that must be considered too. Here are a few essential guidelines that you should remember –
- Pedals that add noise or amplify should go near the start of the signal path. This will include overdrive/distortion effects, wah pedals, and compressors. If they are any later in the signal path, they’ll amplify the noise of everything before them. This can be quite difficult to control.
- Pedals that produce tone will go before things that can modify the tone. This is logical because you’d want to create the basic sounds first. Then, you should tweak it with some sort of modifying effect. For instance, this will mean overdrives go before the chorus effects.
- Pedals that create ambiance will go last. This will go back to the principle of how sound occurs in physical space. Delay and reverb will go after all the other effects.
Cool looper tricks to try after adding the looper to the pedal chain
Most musicians buy their first looper pedal as they’re the only guitarist and want to double up the part. Some even use it to play the lead over some chords. Once this is out of the way, you’ll be left with a large chunk of idle pedalboard space. So, what can you do with this space?
There is more to the guitar loopers than just playing back the audio. There are many interesting tricks that will help you elevate your guitar game. Here are some of the best looper pedal tricks that you can try out.
Stutter
Stutter is a fairly simple effect that is used frequently in math-rock and sometimes in tech medal.
Using this effect is very simple. You’ll need to capture a tiny fragment of audio, often from the end of the phrase, and let it play. Traditionally, it can be achieved with delay pedals such as the Boss DD Series, as they feature a short looper.
For instance, say that you’re using a Boss DD-6 set to the hold mode for capturing the final note of the phrase. You can then catch different lengths, causing a radically different effect, with small captures that have a machine gun-like quality.
Punctuation
In a riff, you can capture a tiny chunk of articulation – a pick slide, a transition between any two notes, a bend, and then retrigger it immediately. You can even do it later to emphasize the end of the phrase or merge them together with the noise.
For this trick, you can find loopers that do not allow more than one loop. You can also carry it out with dedicated micro phrase loopers that capture a tiny buffer as they work best. It’s a fairly niche trick, but it does sound great in certain genres of music.
You can easily capture the high note in the riff for emphasis by using the DD-6. You should deliberately catch this part only or slide up to it for creating a glitchy effect. Some looper pedals could go fully wet, muting the dry signal, and it could work better in certain situations.
Pads
Many looper pedals feature a half-time setting, and it can be used for creating pad chords for ambient sections. When playing live, even if the background pad is out of time, it’ll likely not be noticed by the audience. At least it won’t be noticed as long as it isn’t too loud in the mix.
A great way of carrying out this trick smoothly is to use a volume pedal or the guitar’s volume knob to swell the chords and the chord progressions when you’re recording the loop. Then, there wouldn’t be any dramatic, attention-grabbing pick attacks.
Once you’ve got the loop, if the looper features variable speed knobs, you can turn them into the minimum speed. If it has got a dedicated, half-time setting, you should engage that. You will then be able to play your riff over the top normally.
Reverse solo
This will work only with loopers that have a dedicated effects trigger. However, many mid-range and above loopers come with support for this on the fly. You can play your solo and then as you’re finishing, trigger the reverse, and then play modes on the looper using your feet.
If your looper isn’t supporting this, then as long as it allows for reverse playback, then play in the loop during soundcheck, and trigger it in the reverse playback mode later.
You also have the benefits of triggering the loop without actually being seen to play it in front. However, this makes the looper something of a one-trick pony.
When playing music, you can play where the intro riff is played later in the song backward. This way, the intro will serve as an opportunity to capture the riff for later use. You can easily play the melody line into the pedal and then reverse it. You also have the option to stop the now reversed, loop and immediately trigger it. Most loopers in the market will allow this function.
Stacking the drones
This is one of the tricks for intros and segues. If you know in advance that there will be a chord that leads into a song, then it’ll be fun to construct the chord out of drones. You should start out with a single note, preferably the root note of the chord. Then, add in additional harmonies until the chord is complete.
The trick here is to set the mix volume right below unity and then play the drone note before hitting play on the looper. This should be done for both the initial loop and the additional stacked loops. Otherwise, you might end up with awkward silence or gaps instead of getting a smooth, consistent chord.
You can even swell the volume in each note. This will give a clean, legato feels once you have got more than a couple of notes captured and played. It’ll sound great with the volume swelling in harmonies with the guitar tone rolled all the way off.
Record and manipulate
Even though most musicians prefer the looper at the end of the signal chain, you’ll also have a fair bit of success when you put it in the middle. Then, you can add a delay, wah, or distortion afterward.
By adding a wah, you’ll be able to play a loop and add filtering. The other modulation will work well in this setup as well. If you add distortion, you can make the loop instantly lo-fi. By adding slapback digital delay while having the mix on full, you’ll be able to add machine-gun bursts of glitching.
Depending on how involved the manipulations are, you might not have your hands free to keep on playing. If you want your guitar to sound great, you’ll require an A/B box before the looper redirects the signal. You’ll also need a mixer after the pedals and before the amp. Not only that, but numbers loopers like the Ditto X2 at the lower end and many high-end units will allow you to manipulate the loop once recorded. Then, you can apply effects, slow down, or even reverse the loop.
Voice/instrument through the board
This trick should be self-explanatory. You might already be routing your guitar through the looper, but many expensive loopers support stereo operation. Meanwhile, they keep the stereo paths separate. It means that in practice, as long as you’re happy with the looper capturing the audio from the inputs, you may already be able to plug, keys, or mics into the looper.
Of course, the pro-level loopers have separate inputs and loops for different instruments. Do it, especially if you’re primarily using it to stack loops, as it would be an interesting trick to try. Another way to do this would be to put a line switcher before the pedal chain. Then, route either the guitar or the keyboard through the pedals.
Conclusion
Thank you for reading. Hopefully, now you know a lot more about where does looper go in pedal chain, where to place looper pedal in the chain to get best results, looper pedal tricks that you can use, and more. The looper will go into the pedal chain depending on how you’re looking for the looper to function. The simplest way of positioning the looper at the end of the pedal chain, while you can even place it in between the effects.

