Have you been looking to use a guitar amp but don’t have enough budget to purchase a new one? Don’t worry, you can always go the DIY route and create one by yourself.
Building a guitar amp involves assembling the tools, connecting the capacitors, valves, transformers, and resistors using a wire, and soldering it all. It isn’t as complex as it sounds, as long as you know the right steps.
In this article, you’ll get to know those right steps, how will your DIY guitar amp work, how to build a guitar amp, and more. Continue reading to get all the answers you’re looking for.
How do DIY guitar amps work?
Before you learn about how to build your own guitar amp, it’s important to know what it really is. Guitar amps are audio electronic devices that can be used for amplifying the signal of the pickup attached to guitars. By altering the tone frequencies of the instrument through the amp, you can control the distortion, tone, and volume.
The audio signal input for the amp initially comes through a 1/4″ audio jack that produces a mono audio jack. This means that it won’t differentiate between the speaker’s audio input. The input to the audio jack will come from an electromagnetic pickup made of hundreds of coils. Each one of them consists of inductors and resistors connected in series with each other. The inductors and resistors will, in turn, be connected to the capacitors in parallel.
The guitar pickup essentially works based on Lenz’s law. This law states that the direction of the induced current is opposed to the change in magnetic flux produced by the circuit. When the guitar strings of the guitar get magnetized by the coil, the movement of the strings will produce a source voltage. It supplies the electric signal to the audio jack according to Lenz’s law.
Basics of guitar amps
There are three key factors to consider when creating your own DIY guitar amp. Here are those key factors –
Amplifier format
First comes the extreme basics – a guitar amplification system features a few key elements.
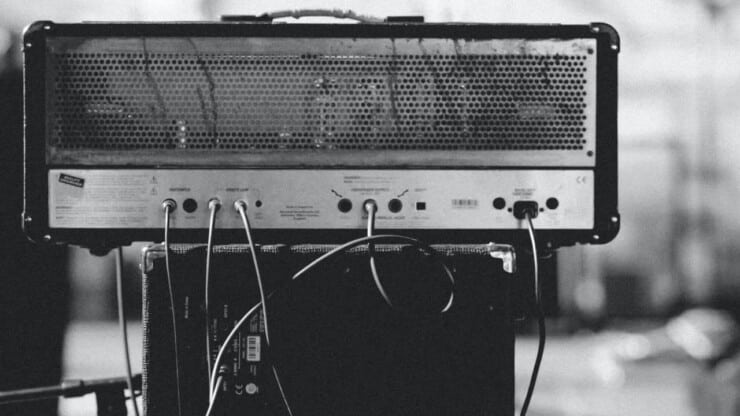
- The amplifier – This is the bit that contains all electronic circuitry and the part that you’re plugging your instrument into. An amplifier takes a weak electromagnetic signal produced by the guitar pickups. This normally runs in through the pre-amp, and it gets increased to a power signal.
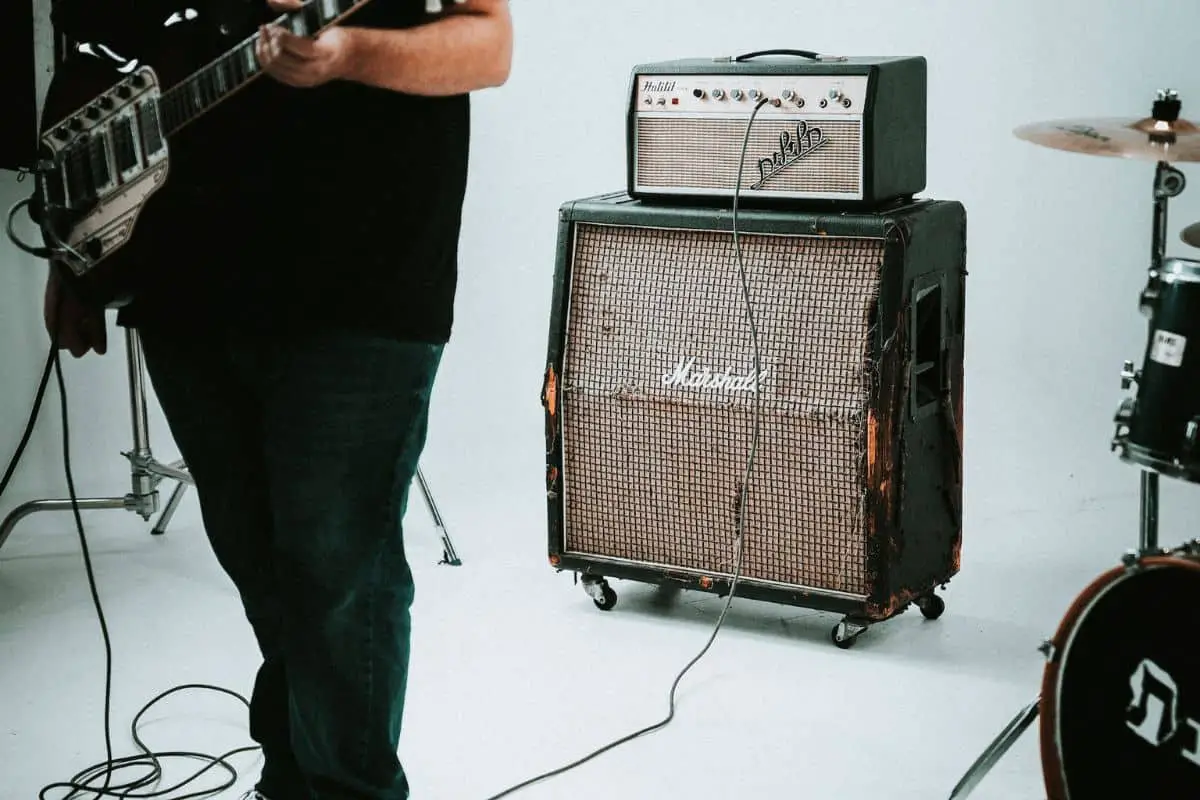
- Speaker – The speaker is what the powered signals from the amplifier is designed to power and thus create noise. Speakers are normally fitted inside enclosures known as cabs or cabinets. Most guitar amp systems will then use these elements in one of the two formats – Combo and Stack.
- Combo – This is an all-in-one box that houses the amplifier and speaker cab. It makes the combo highly convenient for use in most situations. Moreover, it’ll come in a variety of sizes and power ranges. Some of them are even capable of powering an additional external speaker cab to get extra volume.
- Stack – A separate amp “head” and speaker cab will be connected by a cable. This will allow a larger amplifier to get moved separately from the cabinet, which helps in portability. They’ll allow you to easily attach different sizes and different types of cabs to the amp. This will, in turn, change the overall sound.
Amplifier type
Whether you’re going for a stack system or a combo, amplifiers generally come in one of these three different flavors.
- Tube amp – This is the original style of guitar amps, featuring circuitry that runs through valves or tubes. It is normally the loudest variety of amp. Moreover, it is also used by most of the greatest bands in music. Valve amps are commonly regarded as the superior option compared to the others. However, there is one downside the valves wear out quickly and maintenance can be an issue
- Solid-state amps – In solid-state amps, you’re essentially replacing the valves with transistors. This makes them cheaper, lighter, and more reliable than tube amps.
- Digital amps – These make use of modern electronics for emulating the sound that you’d get for traditional tube or solid-state amp circuits. They’re almost as reliable as solid-state amps, while also being the cheapest amp option in general. Digital amps come loaded with built-in effects for playing around with. Some of them even feature onboard tubers for better results.
Power of the amp
All amp systems will come rated at a certain level of wattage. It is the amount of power that is coming out of the speaker once it is maxed out. But how much power do you really need?
This is possibly the grayest area when it comes to your DIY guitar amp kit. A 15W tube amp can easily have more power compared to a 30W solid-state or digital amp. This is possible as tube amps are usually louder. But then again, the same 30W solid-state amps through a 4×12 cab will sound louder than amps through a 1×12. This is the case due to the amount of air getting moved by the extra speakers.
Moreover, consider that human ears will also notice an increase in volume between a 50W and a 100W amp anyway. You should also consider that most guitarists can cover a mid-size gig venue with a 50W combo. This includes having to compete with the volume from the drummer as well.
All amps will manage the power differently. The wattage isn’t always the best option for determining how loud the system actually can be. A good piece of advice for this situation would be to consider what you’ll be using the amp for.
- 10-20W: For recording studios, small rehearsal spaces, or bedroom practice
- 30-50W: For recording studios, large rehearsal sessions, and most small/medium performance venues
- 60-100W or higher: Large venues, recording studios with patient studio engineers, and rehearsal sessions where everyone is having access to earplugs
Your ears will be the deciding factor here. The amp type and speaker configuration of the system you’re trying will combine and determine how the power rating translates into raw volume. In general, most beginners will eventually discuss that less is more.
How to build a guitar amp on your own?
Now comes the important part about how to build your own guitar amp. But before you get to know how to build a guitar amp, you’ll need to know about the safety measures.
Safety warning before you begin
First things first, if you’re going to build an amp on your own, you need to consider the safety warning. You should always consult an expert or look for advice online about working safely with high voltages. This isn’t an optional step and should be kept in mind at all times. High amp voltages can kill you, but with attention and due care, the risks will be minimal.
If you’ve experimented with electronics before, then you’ll know that even 9V DC is enough to melt components. This is also enough to start a small fire. So, the voltage isn’t directly the danger, but carelessness is. Some digital multimeters aren’t rated for over 250V. You should remember that even on a 5W amp like this one, some test points will likely exceed that. You should either purchase a higher-rated DMM or emit the tests.
Likewise, you should be careful about not turning on the amp if there are any grounds or short circuits. Also ensure that after the testing part of the circuit, you don’t immediately start working after turning it off. First, you should discharge any large capacitors storing charge and then wait for a while before resuming work.
Tools needed to build your own DIY guitar amp
The tools that you’ll need for building your own DIY guitar amp are – wire, capacitors, turret boards, valves, resistors, transformers, output transformers, and fixings. If you’ve got a heat-adjustable soldering iron, it’ll be important to set it at a sensible temperature.
Normally, they are run moderately hot at around 350-degree Celsius, using a 0.6mm solder. Then, you should use a heat-sink like reverse-action tweezers for sensitive components such as diodes. It is possible to use the iron at lower temperatures, but the connections will take longer to make. The general rule of thumb is that you shouldn’t keep a component under heat for more than 1-2 seconds.
How to build your own guitar amp
When you’re stripping the wires, ensure that you twist the ends after stripping and before tinning the wire. Do it by heating and adding solder. This makes the connections smoother and easier to make. As there are many fly wires, it’ll pay to be pragmatic. You should keep the wires short enough that they don’t get messy. However, they should be long enough to be cut and moved if you make a mistake.
For wires that run together, twist them and tidy them up. If there are many in a clamp, then you should use a zip-tie for gathering them up and out of the way. One of the things worth constantly doing is checking the components before they’re placed in the circuit. It’ll be harder to desolder and replace them than it is to check them first. You should make an A4 grid of the resistor numbers. Then, check them by testing them one at a time and then placing them on the paper.
As the amp has comparatively few components, there isn’t any excuse to not check the orientation of the capacitors. Also, check the value of the resistors before placing them and soldering them. Resistor orientation doesn’t matter much, but you should still look to have a neat arrangement. Select a direction in terms of the bands. Then, ensure you have the tolerance band at the same end vertically and horizontally. This helps if you’re looking to debug later.
For capacitors, axial and radial capacitors are normally polarized, but they’re clearly marked if so. Normally, radial capacitors come with a stripe on the cathode side. Meanwhile, axial capacitors come with arrows pointing to the cathode side in a stripe. Other identifying marks include a dent on the anode side or even a rubber stopper at the end. If you’re in doubt, you can always Google for images of the brand that are labeled on the part and confirm before you start soldering.
The valve sockets will have a cut marking where the first pin sits. Ensure that you’re lining it up with the physical assembly diagram. Otherwise, you’ll need to mentally rotate the pinout when making the connections later. It’s common to accidentally place the valve sockets at the wrong angle and work out which connections are correct. This is why you should write down the pin numbers with a permanent marker on the inside of the chassis. It’ll help you avoid mistakes when wiring the connections.
When you’re seating the valves, some wiggling into place is required, especially when it’s your first time using the sockets. However, you should be careful that you don’t force anything and end up causing damage. You can always go for a 12AX7 in the pre while using an EL84 in the power section. They’re both small and fragile valves, but with a gentle push, they’ll be seated correctly.
Diodes are heat-sensitive, so it’ll be worth checking them before and after they go into the circuit. Your DMM needs to have a clearly-marked diode check function that can be used for verifying them. If you aren’t sure about whether the readings seem off, Google the diode type and the expected readings.
After soldering, ensure that you cut lead ends while clearing away anything on the underside of the turret board. If you’re assembling the main power board on the flat tabletop, it’ll mean that all the leads are checked and clipped before you’ve put the turret board into the chassis. The main board should be assembled in place in the chassis. If any problem happens, you should stay calm. Place the chassis on a pile of books and disconnect the plug at the wall. Wait until the power capacitors have completely discharged. Then, check the circuit and board undersides for any potential short circuits.
Whether you’re assembling it on a flat surface or in place, you should ensure that the undersides of the turret boards have no short circuits or unclipped leads.
Reasons why you should build your own DIY guitar amp
Creating a fully-functioning guitar amp from scratch is definitely an achievement. However, many aspiring guitarists aren’t too sure if they can pull off creating their own DIY guitar amp. Sometimes, they don’t even want to try it. However, this shouldn’t be the case.
Here are a few reasons why you should be looking to build your own guitar amp –
Create an affordable alternate copy of your dream guitar amp
Vintage tube amps and boutique amps normally come with a big price tag. Moreover, some of them are extremely hard to find. Building an alternate copy of one of them isn’t just about the looks or classical aesthetics. These DIY amps are often built with the same electrical layouts and components that the originals were made from.
This is why the sound quality that they produce is wonderful. As you’re plugging in your guitar, and you start playing, you’d right away think of the golden age solos and their memorable live performances. DIY guitar amp kids are often sold at a significantly less cost than the Boutique amps or the original ones. The result will be incredible in more ways than one.
Understand your audio systems to the finest detail
Creating your own DIY guitar amp requires a thorough understanding of the components. Moreover, you should also know about the mechanical aspects of the amp and how the audio system works. When working through the technicalities, you’d come across many terms that describe sound quality.
You’ll also learn how good audio is produced and where things are going wrong and where the jarring noises appear. Resolving the signal issues like clipping, humming, inversion, and unwelcome secondary harmonics will be conclusive in understanding the audio purity.
You’ll then be in a position to match various components of the audio systems with proficiency. Moreover, when listening to any system afterward, you can tell whether everything is working properly or not. You’ll also get to know to understand how exceptional the sound quality is.
Learn valuable skills
Some music enthusiasts start off with simple audio kits and as they’re accumulating their knowledge and skillset, they work through more sophisticated DIY amp kits. The gradual learning and hands-on experience will allow you to be more intimate with the minute details of amps. This includes both the technical aspects and the theory of the system.
From the outside, some tasks may look easy, but as you’re working through them, some bugs can pop up. It’s the process of debugging and finding faults that build up valuable experience. This is something to pick up yourself, as no amount of watching videos or reading will teach you about it.
Conclusion
Thank you for reading. Hopefully, now you know a lot more about DIY guitar amps, how will your DIY guitar amp work, how to build a guitar amp, and everything else in between. If you’re looking to know how to build a guitar amp, it’s actually a simple process. This process will involve gathering the tools, using a wire to connect the capacitors, transformers, valves, and resistors, and then soldering the system.

