Have you been struggling to deliver a glittering performance because you don’t know how to use a distortion pedal? Don’t worry, you won’t have that problem anymore.
Using a distortion pedal is all about understanding your tone’s reactivity to other pedals and utilizing distortion to your guitar’s sound signature to produce an amazing tone.
In this article, you’ll get to know all about distortion pedals, what is distortion, how to use a distortion pedal, how to set up a distortion pedal using the DIY way, and a lot more. Continue reading to get all the answers that you’re looking for.
What is distortion?
Distortion is an effect that occurs once gain is added to the audio signal, which pushes the signal beyond its peak. This will cause harmonic overtones and clip the peaks and troughs in the signal. This can easily result in compression and sustain. This can be achieved through any audio signal, but it’s usually avoided in hi-fi audio. For many guitarists and musicians, this is just the sound that they’re after.
Distortion is achieved by turning the volume up on the amp to the point it’ll cause the tubes to overdrive. Many amps make use of a preamp, which can be used for overdriving the input signal at a significantly lower volume. This is just what a distortion pedal will accomplish regardless of the amp that it is fed into.
What is a distortion pedal?
Whether you’re a beginner or a seasoned pro with years there in your belt, you’d probably have heard of distortion pedals. It’s normal to wonder what is a distortion pedal and how to use a distortion pedal? Although the blanket reference of the distortion effect might come up here and there, it’ll be essential to thoroughly know about this effect. Regardless of your style of music, distortion comes in many colors and flavors.
Distortion will directly affect your guitar’s signal, clipping, and bringing in harmonic overtones. Distortion pedals will allow you to choose when in your tracks you’ll be using the distortion. This will allow for clean sections with gritty, distorted sections. For instance, a guitarist can use their distortion pedal once the chorus kicks in to try and play a more exciting, fresh tone.
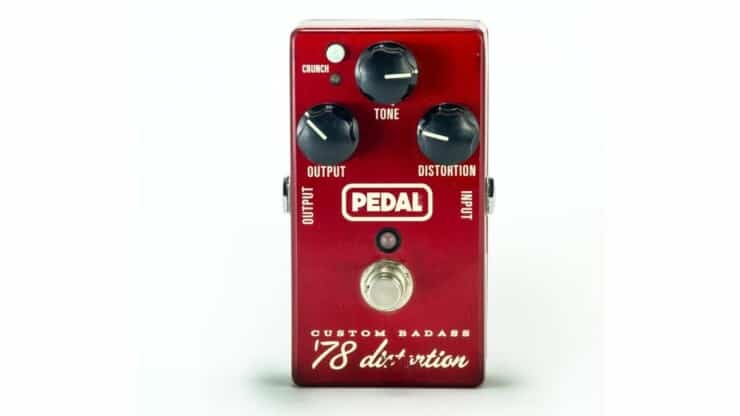
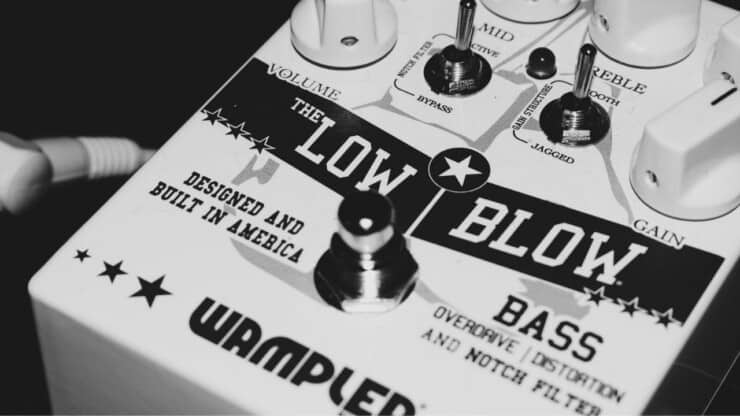
Once the distortion kicks in, the distortion pedals will give more control over the distortion sound itself. Most distortion pedals will include the option to alter the tone of the distortion, often including an EQ. They’ll almost always feature the option of controlling the amount of distortion and how wet the sound is.
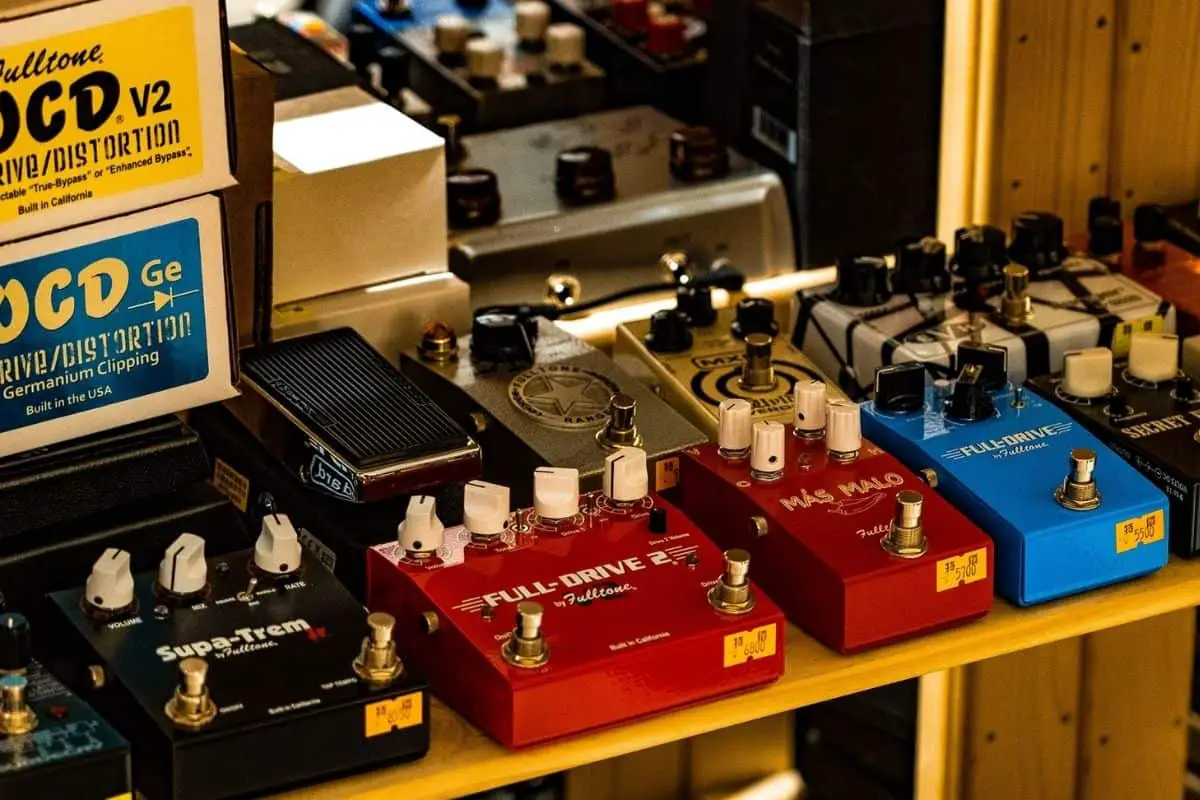
As far as guitar equipment goes, distortion pedals will be relatively inexpensive. There isn’t a reason why you shouldn’t be using a distortion pedal if you’re going to experiment with more sounds.
How to use distortion pedal?
At the end of the day, how to use a distortion pedal will be down to your personal preferences. Practice, experience, and trial & error will be important for finding the sweet spot. This will solely depend on you. This is why the first step for using a distortion pedal would be to develop a great pair of ears.
Step 1 – Learn how to spot the differences in the tone
The easiest way of getting a massive tone would be to tweak the gain control knob to the max. Of course, this can result in a lot of muddiness in the tone. Sometimes, the essence of the tone can become an uncomfortable, gain-riddled mess of incoherent loudness.
This is why you need to take time with the distortion and give your best in noticing the changes. Keenly notice the changes’ distortion is bringing to the table as you’re tweaking the knobs. The simplest distortions like Boss’ DS-1 will only feature the tone and distortion knobs. Meanwhile, some high-end models like Fender’s MTG will act like mini amps in their own right. These come fully equipped with full-fledged equalizers and compressors with gain and distortion.
Step 2 – Utilize distortion according to your guitar’s sound signature
Every guitar will sound different, as every guitar will come with its unique sound signature. The tonewoods that the construction comprises will define it. If you’re able to read it, then it’ll help you use the distortion pedal effectively.
Bright and warm will be the two most typical ways of describing how the combination of tonewoods in the guitar is affecting its sonic signature. Warmer guitars will fare better with heavy sounds and lower frequencies, while bright sounds will be cleaner and thinner.
Many guitars come equipped with born bright and warm tonewoods. It is usually the body and neck woods that tend to be the most dominant ones. Bright-sounding guitars will be more gain to properly pick up the gain input, whereas warm-sounding guitars will need very little.
Step 3 – Understand the tone’s reactivity to other pedals in the pedal chain
The distortion pedal is among the strongest effects that can be used in the pedal chain. Even so, unless it’s being used as a standalone effect, it’ll react very differently compared to every other pedal. Understanding the relationship between distortion, delay, reverb, chorus, compressors, EQ, and other pedals you might be using will help you in reaping the most benefits and properly shape the tone.
For instance, reverb and delay pedals will almost duplicate the guitar’s signal. The stronger the distortion is, the stronger will be the effects here. On the opposite end of the spectrum, equalizers and compressors are meant for cutting off any unwanted frequencies. This essentially means they’ll invariably weaken the distortion to an extent.
Step 4: Adapt your distortion pedal’s knobs to the amp
Most veteran guitarists use loud, clean amps for avoiding any mismatched gain input. However, even the cleanest amps still come with a bit of gain in them. This means that you’ll need to rethink your go-to step each time you’re using a different amp. Of course, ramping up the gain in the amp while using a strong distortion pedal isn’t really advisable. Your volume will then exceed the limits of the amp, which essentially results in your tone suffering considerably.
One of the best things that you can do is to be prepared to mark your favorite knob positions. You should then be familiar with the amp while your pedal is off. You should learn about the wattage and color of the gain before and after you’ve turned the pedal back on if you’re looking to get the most out of it.
Overdrive vs. distortion
The tones produced by overdrive and distortion pedals are very different. This is the case because of the way these pedals affect the signals produced and fed into the amp. Distortion pedals are essentially hard-clipping devices, while overdrive pedals are soft-clipping devices.
Clipping is a form of compression that can limit the signal above the threshold level. In normal signals, the sound will be smooth due to the sound wave being naturally curved. With overdrive, the soft-clipping will affect and will compress the signal, but will not completely cut it off above the threshold. Distortion, on the other hand, will be hard-clipping. This means that the sound waves are less curved, and cutting into them will result in more aggressive tones.
Can distortion and overdrive be used together?
Yes, distortion and overdrive can indeed be used together, and it’s commonly known as gain-stacking. However, you’ll have to properly dial in the controls for making the tone sound different. If you’re using them together and have the distortion set too high, it can mask the overdrive effect.
Different distortion and overdrive pedals end to affect the tone in different ways. They’re known for doing these –
- Increase the level of gain
- Add compression
- Alter the EQ
If you’re adding both an overdrive and distortion pedal, you’ll be increasing the amount of gain. You can easily alter the level of each pedal and have a mix between overdrive and distortion. This is great if you’ll be using a particularly heavy distortion pedal and a subtle overdrive pedal. Combining the two pedals will give you more versatility in the amount of gain you’ll be getting.
Secondly, both pedals will add compression. Both of the pedals have different effects on how clipped the signal is. Moreover, using them together affects how clipped the sound gets and gives you more versatility. It’s also important to remember that overdrive and distortion pedals don’t just alter the gain and compression, but they’ll also affect the EQ.
This will refer to the balance of treble, bass, and mid-frequencies that you’re hearing. Treble will increase the clarity while adding sharpness. Mid-frequencies will be vital for ensuring that the sound carries. Bass frequencies are used to give the tone more depth and warmth. Depending on which pedals you’re using, the EQ can be easily altered. Using both overdrive and distortion pedals will give you a lot more tonal possibilities.
The magic of all-in-one overdrive and distortion pedals
If you’re not willing to purchase two separate pedals but still want a mix of overdriven and distorted tones, you should go for an all-in-one pedal. You can go for something like a Boss OS-2 pedal and you’ll definitely love it. It’ll be great as you’ll be getting entirely separate overdrive and distortion effects, or even blend them together. It’ll give you ample versatility without needing to buy multiple pedals.
It’ll come with four controls –
- Level – Level will affect just how much distortion/overdrive you’re hearing
- Tone – This control will give you a lot of options to shape the EQ according to your taste
- Drive – This will affect just how much grit you’re getting
- Color – It’ll allow you to switch between overdrive and distortion, or even blend them together.
How to set up a distortion pedal using the DIY method?
Who doesn’t like the unique, rumbling tone of distorted electric guitars? It’s a big part of many important music genres, especially the rock, blues, and other music genres. It’s also predominantly used in metal, punk, and hard rock music genres. If you don’t have the budget to buy a high-end distortion pedal, you can always take the DIY route and make a basic distortion pedal at home.
Components needed
In this method, you’ll be building a transistor-based Distortion circuit. The components required to create the basic distortion pedal circuit include –
- BC337-25 transistor
- 100k resistor
- .1 uF capacitor – 2 pieces
- 1 meg resistor
- UF4007 – 2 pieces
- Breadboard
- 2 audio input sockets
- Hooking wires
- 12v adapter/9v adapter
How to set up a distortion pedal
The transistor will act like any basic preamp. The 100K resistor will be used as a collector resistor, while the two capacitors will be used for the audio output and any audio output-related purposes. The capacitors will be able to block the DC signal and pass the AC signals. You can select the capacitor’s value from .1 microfarad to 10 microfarads. Selecting the right transistor will be important for making your own distortion pedal. It is recommended that you should use BC337-25 transistors, as it’ll offer decent gain to the input signal. Two diodes, D1 and D2, should be used for creating a diode clipping circuit. This is where the distorted sound will be created.
The input signal here will be an AC sinusoidal signal, which will create the perfect sinusoidal wave. A diode clipping circuit will chop off or clip the sinusoidal wave, depending on the diode’s forward voltage. The D1 diode is reverse biased with respect to the output while clipping the negative peak of the output signal. In the same way, the diode D2 is forward-biased with respect to the output while clipping the positive peak of the output signal.
How will this result in a distorted sound? This is possible because of the speaker’s response to the sinusoidal wave. Once the sinusoidal wave goes positive, the speaker’s diaphragm will move forward. Meanwhile, when it goes negative, the speaker’s diaphragm will move backward. The forward and backward movement of the speaker will go smoothly because of the proper sinusoidal wave response. Once the signal is clipped or chopped down, the speaker’s diaphragm will create a thrashing sound while the output tone will get distorted.
How much distortion you’ll be needing will depend entirely on the configuration of the diodes. Different forward voltages or having different specifications of diodes in D1 and D2 will produce different types of distorted sounds. Possible combinations will include 1N4148 in D1 while having Green LED in D2. Meanwhile, you can have Orange and Green LED in D1 and D2 or have Germanium diodes configurations work well. Different manufacturers of distortion pedals will use different combinations in a single package while offering a selectable switch for the user. The users can then choose which ones to use according to the tonality. You can even experiment with other diodes configurations to create interesting distorted sound outputs.
Test your new DIY distortion pedal
The circuit that is used above will be constructed on a breadboard and works well with most guitars. For making this circuit work, you can use two patch cables and a power amplifier. The patch cables can then be connected to the two connectors to get the audio input from your guitar. Then, you can pass the signal to the amp. Your DIY distortion pedal can be used with electric guitars, but it’ll work well with acoustic guitars too. You can use a power amp that is a 5W home-based amplifier system. You can make use of any amplifier of your choice, or you can build one of your own.
Conclusion
Thank you for reading. Hopefully, now you know a lot more about distortion pedals, what is distortion, how to use a distortion pedal, how to set up a distortion pedal using the DIY way, and a lot more. Distortion is a commonly used guitar effect that occurs once the gain has been added to the audio signal. This effect pushes the signal beyond its peak. Distortion pedals will allow you to choose when you’ll be using distortion in your tracks. It’ll allow you to get gritty, distorted sections. Make sure that you understand the relationship between distortion and other effects like reverb, delay, chorus, compressors, and more to reap the most benefits and shape the tone properly.

