Have you been having trouble with your pedalboard, especially with the distortion pedal not working properly? Don’t stress it, this is something most guitarists go through at some point.
Distortion pedal not working properly could be due to a wide variety of reasons. Some of the most common ones include faulty power supply compatibility, cable connections might not be proper, and faulty distortion pedals among others.
If you’re having questions like why is my distortion pedal not working, then this article is for you. In this article, you’ll get to know all about distortion pedals, why isn’t my distortion pedal working, common reasons that lead to faulty distortion pedals, and more. Stick around to find out all the answers.
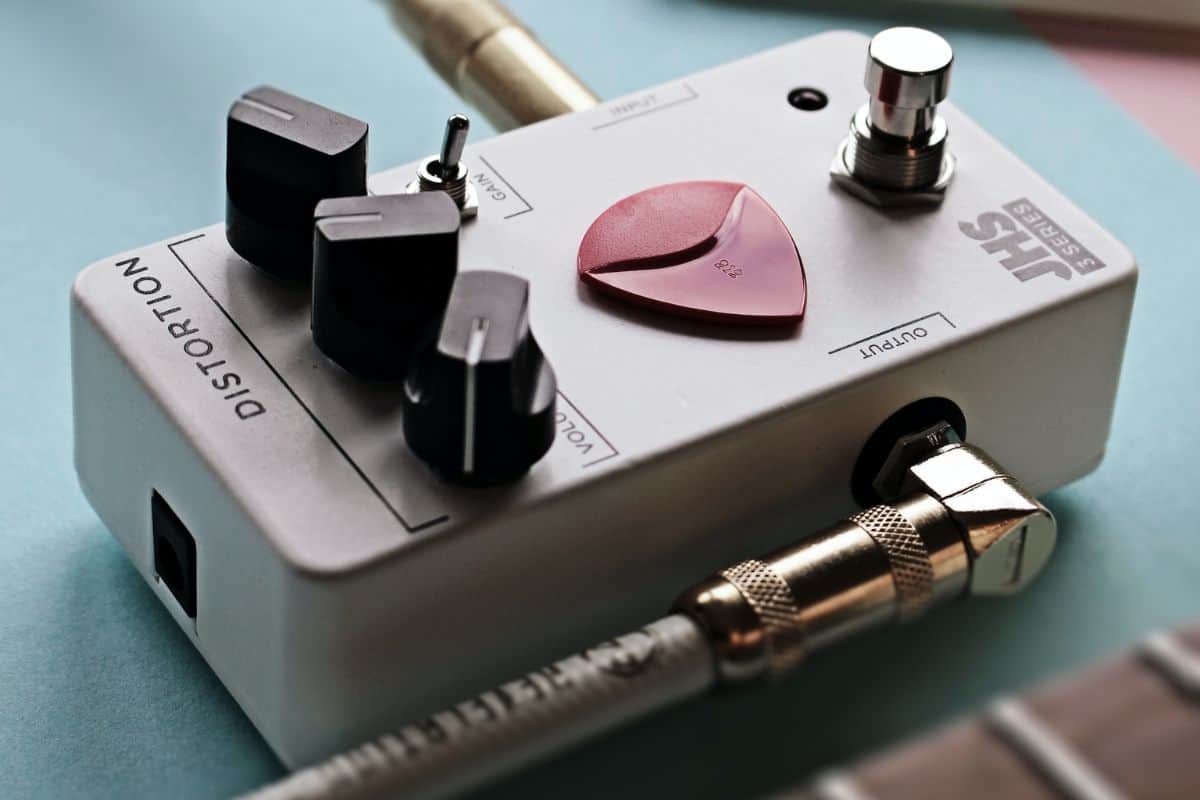
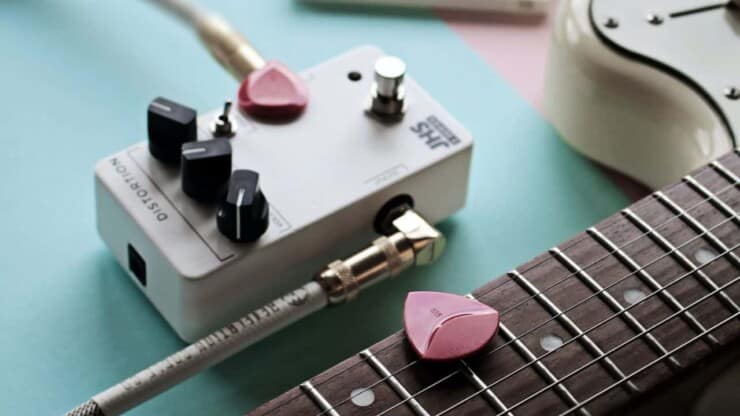
The common issue of faulty distortion pedals
Do you find yourself looking for the answers to why is my distortion pedal not working? Well, you’re not alone, as this is more common than you think. Dead batteries in the distortion pedals mean that there will be no power going into the pedal. This means that there will be no signal. The same will go for active pickups in the guitars. 9V batteries for that matter will be unreliable and will only last a few hours or days occasionally.
Noisy and hissy sounds will be common issues with DIY effects pedals. There will be many causes for it, but the main culprits will be ICs and Transistors. Swap them out and use new components. If you were using sockets for these components, then it’ll be a quick fix. If you weren’t using sockets, it is recommended that you should give them a try.
If you’re working with a DIY pedal like distortion or fuzz, you’ll notice radio interference once the pedal is engaged. It’ll come down to shielding issues. By correctly shielding the pedals, it’ll prevent the radio waves from entering the circuit.
Why is my distortion pedal not working?
Whether you’re troubleshooting no signal or a bunch of noise or hissing sound from the rig, the possibility is that the distortion pedal could be the problem. At times, though, it isn’t the distortion and the problem can be traced back to the amp, power, or guitar. The only way of knowing is through the order of elimination. If your guitar sounds great when connected directly to the amp but adding the distortion pedal causes issues, then it is definitely a pedal problem. If it isn’t a distortion pedal problem, then there might be one of these issues.
Check the distortion pedal power supply compatibility
Most distortion pedals come powered by a power supply adaptor, although some are battery-powered as well. If you’re powering the pedal with a battery, the first thing that you should try is a new battery. If you’re using a power adaptor, then there might be a few parameters that should match. Otherwise, the pedal will not work properly. The most important specification will be the current type – AC or DC. Always use the appropriate current and adaptor size/type. Some power adaptors may look similar but might not fit properly. You should always use a compatible power plug.
Other than the current type, pedal power will come with three parameters – voltage, amperage, and polarity. When you’re setting up the distortion pedal, ensure that the power supply matches all three requirements. Using an incompatible power supply can easily damage the pedal, especially if the polarity or voltage doesn’t match.
Secure and test the cable connections
Have you verified that the guitar pedal is properly connected to a compatible power supply? The next step would be to check the cables and connections. All that you’ll need to do is ensure that the cable is secure and that it passes clear signals. Mostly, you’ll be using the standard ¼-inch unbalanced TS guitar cable. However, some pedal connections need a balanced TRS cable. In case you haven’t checked yet, you should verify that you’re using the correct cables. Moreover, ensure that they’re inserted all the way properly into the jacks.
Cable testers will be the best way of ensuring that a cable works properly. There are many relatively inexpensive testers out there, and they’re all very useful. Another simple test would be to plug the guitar directly into the amp. Then, listen for any static, crackles, or dropouts. If the guitar and amp are sounding normal, then the cable is passing signals, and it’s okay to be used.
Cutting guitar pedals and custom cables
If you’re using cables from pedalboard kits, the best thing that can be done is to measure twice and cut once. You should test each finished cable with a cable tester before you add it to the pedalboard. In case it is not working properly, trim a bit off the cable. Then, use a twisting motion to reseat it back into the plug.
- Tighten the loose jacks and cables fingertight.
- Check that the cables are securely connected to the right input or output jack.
- If you’re using custom cut cables, disconnect them, reseat the wire into the plug, then firmly tighten the cap. Moreover, reconnect them and test the signal.
- Test a questionable cable with a cable tester. In case it tests negative, either swap the cables, recut them, reseat them, or replace them with new ones.
Isolate and test the distortion pedals
Once the power supply and cables are in working order, the final step would be to test the pedal. You should test the distortion pedal by itself, without any other pedals or effects in the signal chain. If you’re troubleshooting issues with more than one pedal, you should test each one of them individually. Then, you should connect them together and then test them once more. This will help you resolve the problem by the process of elimination – power, cable connection, pedal settings, etc.
Ensure that you have the distortion effect engaged and give the pedal a test drive. If it is sounding as if it is supposed to, then the distortion pedal passes the test. If it isn’t giving a clean tone, then test each knob and switch individually.
Levels and pedal order
While the distortion pedal might be okay on its own, it might not respond the same when it is used with other pedals. Pedals having level control especially require extra consideration when balancing gain staging through the signal chain. You should be aware of the level that the pedal, amp, and FX loop connection should have and how they should respond.
Some effect pedals sound better in specific combinations than others. Every pedalboard is unique, so you can experiment with the order of the pedals for finding the exact sound that you’re looking for. Loop switchers will give you amazing flexibility while helping in resolving issues with the guitar pedal order.
Common reasons why effect pedals fail to function properly
Have you had this bad dream where you show up to a gig or your guitar lesson and the pedals aren’t working properly? You’re left scrambling for answers to questions like why aren’t my distortion pedal working. Most guitarists have this phobia. You step on a pedal and instead of getting the expected effect, you end up getting unwanted, unexpected noise. There are many guitarists who have actually lived this nightmare scenario during practicing, jamming, or worse, during gigs.
Here are five of the most issues that affect your pedals and stop you from delivering the promise that you’ve been wanting to deliver. However, the good news is that most of the effect pedal issues come with equally easy solutions. Often, all you’ll need is a soldering iron and replacement parts.
Batteries, cables, and power supply problems
Before looking into anything else, you should take a good look outside the pedals. You should ensure that everything is set up correctly. If you’re plugging in and playing but aren’t hearing a sound, the most likely culprit will be the cable.
For testing the cables, you should hook up the rig like usual and work them backward. Take the last cable out of the output of the last pedal, and then put your thumb on the jack’s tip. If you’re hearing a buzzing noise, it means that the signal is coming through. Then, plug it back in and test the cables coming out from the next output. You should keep going cable by cable until you’ve found the faulty one.
But what if the cables are working properly, and you’re still having signal issues? You’ll need to check the power supply on each pedal. For 9V batteries, you should simply take them out and use a battery tester. When using an external power supply, you should try it on a different pedal having the same rating. This will allow you to make sure whether it’s working or not.
Moreover, ensure that you’re using the correct polarity for the power socket. Power sockets are normally center negative and look like little tubes. Although, you might run into a center-positive socket on older pedals. These will look similar to a headphone jack. You should check the voltage requirements of the pedal too, as it’ll help in avoiding serious damage to the circuit. Fortunately, voltage is simple. If it says 9V, use 9V and if it says 12V, use 12V.
Amperage (sometimes confusingly referred to as amps) is a bit more forgiving. You’ll be fine as long as you’re meeting or exceeding the current requirements of the effect pedal. In case you’re daisy-chaining multiple pedals from a single power supply, you can simply add up the current requirements of the pedals and ensure that the wall wart can offer more amps than the total.
A broken footswitch
Effect pedals take a beating, and it normally starts with the footswitches. These get pulverized each time you’re heading into a chorus. Footswitches will come with their physical limitations are usually break down after some time. You’ll know it when it happens. You’ll lose the signal and your footswitch will stop clicking when you step on it.
Switching it out will be easy. You can simply open up the pedal and see how the footswitch is connected. Tip – Take a picture using your smartphone so that you can remember it and no longer have to memorize it. Then, put a replacement switch in its place and solder the connections the same way as the old switch.
A loose or disconnected jack
What to do if the signal isn’t dead but is a bit finicky? Sometimes, you can look to angle the cable in a certain way and get the effects that you’re looking for. However, other times you cannot get it to make the sound at all. This is likely caused by either a broken input or a broken output jack.
This normally happens for a very silly reason – wiggling. If you have a loose screw, there will be a bit of wiggle room in the input jack, which allows it to move back and forth. Eventually, this movement can cause a solder joint to break down or the wire to fray. Anyone who has ever used a clunker guitar that works only when you’ve put the cable in just right has probably dealt with this issue already.
The good news for you is that you might not even have to buy any replacement parts for fixing it. You can simply tighten the jack until you cannot feel any play. Then, check all the connections. If anything looks suspect or flimsy, reflow the solder. You can even try to strip away a little of the casing if you want to make a fresh start with the wire. If that doesn’t work and the jack is totally broken, you can just match the older wires to a new jack.
A malfunctioning or broken light
What if the pedal is working, but you cannot tell by looking at it? While this might spell disaster during a performance or a gig, this is actually a simple problem. This is the case of a malfunctioning LED light and can be fixed easily.
It’s important to note that LED lights tend to be among the most reliable components in the pedals. If the light isn’t shining, it’s usually due to the connection and not the bulb itself. There is an easy way to fix it that requires you to reflow the solder, just as you would have done for a loose jack. In case the problem persists, replacing the LED will be a cinch. Similar to other parts, you can simply take out the faulty one and replace it with a new one.
Using dirty, scratchy pots
It’s sweet to notice old pedals or other pieces of gear sitting in a corner of the garage and wonder why you stopped using them in the first place. If you’re lucky, you might plug them in and immediately ascend to tone heaven. But more often than not, you’ll remember instantly why you neglected them for so long. The signal might be unreliable, there might be hissing or buzzing when turning the knobs, and more. What you have here is a dirty pot (short form for potentiometer). As you’d have probably guessed, the primary culprit is dirt and dust that has built up from months or years of not being used.
You shouldn’t worry about the technical stuff, though. You can always fix a pot’s performance using an electrical contact cleaner like DeoxIT. Furthermore, you can unplug the pedal and/or remove the batteries. Remove the pedal’s backplate and then spray the cleaner into the backside of the pot. Then, you should twist the knob back and forth a couple of times for cleaning and lubricating the pot. You should use a cloth or paper towel for dabbing dry the excess cleaner.
It’ll be a good practice to clean all the pots while you’re at it. It’ll be even better if you do this entire procedure outdoors, as the fumes from the contact cleaner can be quite a doozy. The contact cleaner will revive old dirt boxes or effect pedals. If the problem still persists, replacement pots are rather inexpensive and fairly easy to install.
Conclusion
Thank you for reading. Hopefully, now you know a lot more about distortion, why isn’t my distortion pedal working, the common reasons why effect pedals are not functioning as expected, and more. Distortion pedals, while an important part of your guitar rig, can sometimes be faulty due to a wide variety of issues. The common reasons why is my distortion pedal not working include a faulty power supply, improper cable connection, and faulty distortion pedals among others.

